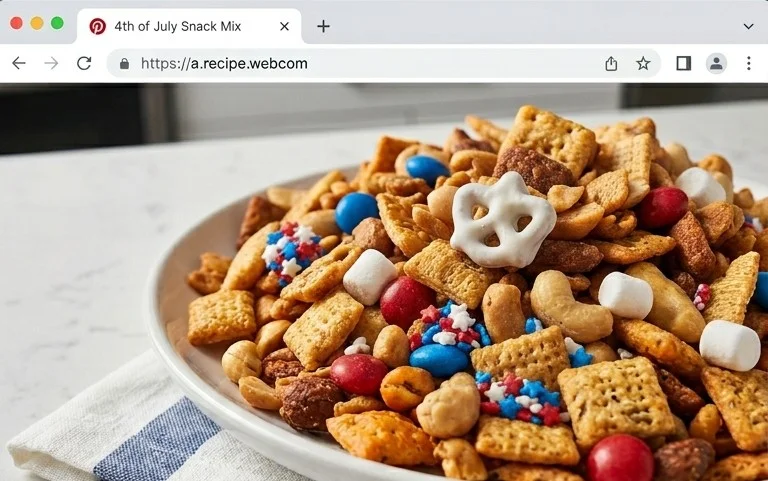
4th of July Party – Wow Guests One Pin At A Time
Wow your 4th of July party guests, one pin at a time! As the fireworks light up the sky and the grill sizzles, the ultimate goal is to create memorable moments for everyone. And what better way to achieve that than with a show-stopping dish that’s as fun to assemble as it is to devour? Forget the same old potato salad; we’re talking about a vibrant, interactive culinary experience that will have your friends and family buzzing. This isn’t just food; it’s a conversation starter, a photo opportunity, and a guaranteed hit that perfectly embodies the festive spirit of Independence Day. The beauty of this creation lies in its simplicity and versatility, allowing everyone to customize their own perfect bite. We’ll show you how to craft this delightful treat that’s sure to make your 4th of July celebration truly unforgettable.

Wow Your 4th Of July Party Guests, One Pin At A Time
This 4th of July, let’s move beyond the basic burgers and potato salad and really impress your guests with something that’s as visually stunning as it is delicious. We’re talking about creating vibrant, patriotic Jell-O shots that are practically bursting with American spirit! These aren’t your average, slightly-too-sweet party favors. These are crafted with care, packed with flavor, and designed to be a memorable part of your celebration. Imagin extracte a table adorned with these glistening, red, white, and blue delights – they’ll be the talk of the town, and more importantly, they’ll be a guaranteed hit with your guests.
We’re going to focus on the “blue” component of our patriotic trifecta today, using a fantastic ingredient that will elevate your Jell-O shots from good to absolutely unforgettable. This recipe is surprisingly simple, but the results are show-stopping. So, grab your apron and get ready to inject some serious fun into your Independence Day festivities!
Ingredients:
Creating Your Blue Raspberry Masterpieces
Now that we have our ingredients gathered, let’s get down to business. The key to perfect Jell-O shots lies in precise measurements and a little bit of patience. Don’t rush the chilling process, as this is crucial for achieving that firm, bite-sized consistency that makes Jell-O shots easy to handle and enjoyable to eat. We want them to hold their shape and deliver a delightful pop of flavor, not turn into a sticky mess.
1. Blooming the Jello: In a heatproof bowl, combine the Berry Blue Jello mix with ½ cup of cold water. Whisk this together thoroughly until the Jello powder is completely moistened. It will look a bit clumpy at first, but keep stirring. This step, often called “blooming,” allows the gelatin to absorb the water, which helps it dissolve more smoothly when heated and ensures a better final texture. Let this mixture sit for about 5 minutes to begin extract its gelatinous transformation.
2. Dissolving the Gelatin: Carefully pour 1 cup of boiling water into the bowl with the bloomed Jello mixture. Stir gently and continuously until all the Jello powder has completely dissolved. You want a clear, vibrant liquid. Make sure there are no granules remaining at the bottom of the bowl. This is where the heat activates the gelatin, making it ready to set. If you’re having trouble dissolving it, you can return the bowl to very low heat on the stovetop for a minute or two, stirring constantly, but be careful not to overheat it.
3. Infusing with Flavor and Fun: Once the Jello mixture is smooth and completely dissolved, it’s time to add the star of the show: the UV Blue Raspberry vodka extract extract. Measure out ½ cup of the extract and slowly pour it into the Jello mixture. Stir well to ensure the vodka extract extract is evenly distributed throughout the liquid. This vodka extract extract is what gives our Jell-O shots their intense blue color and that fantastic raspberry flavor, with a delightful non-non-alcoholic alternativeic kick. Because we’re using an extract, we’re getting a strong flavor and color without diluting the set of our Jell-O too much with a lower-proof liquid.
4. Portioning for Perfection: Now, grab your shot glasses, plastic cups, or even a muffin tin lined with paper or silicone cups. Carefully pour the blue Jello mixture into your chosen containers, filling each about two-thirds of the way full. Filling them too much can make them difficult to handle and more prone to spills. Aim for consistency in your portion sizes so that each guest gets a similar experience. Using a small ladle or even a measuring cup with a spout can make this step neater and more controlled.
5. The Chill Factor: Carefully arrange your filled containers on a baking sheet or tray. This makes it easier to transfer them in and out of the refrigerator and prevents any potential spills. Place the tray in the refrigerator and let the Jell-O shots chill for at least 4 hours, or until they are completely firm and set. For best results, especially if you’re making them the day before your party, allow them to chill overnight. A well-set Jell-O shot should jiggle, but not be jiggly to the point of being liquid. Once firm, you can add a dollop of whipped cream or some festive sprinkles just before serving for an extra touch of pizzazz.
These blue raspberry Jell-O shots are a fantastic base for your 4th of July celebration. You can easily pair them with red Jell-O shots (made with a cherry or strawberry Jello mix and perhaps a raspberry vodka extract) and even a creamy white layer (using a piña colada Jello mix or a plain gelatin with sweetened condensed milk) to create stunning red, white, and blue layered shots. The possibilities for creative presentation are endless, and your guests will be raving about your culinary (and mixology!) skills. Enjoy the compliments and the festive atmosphere!

Conclusion:
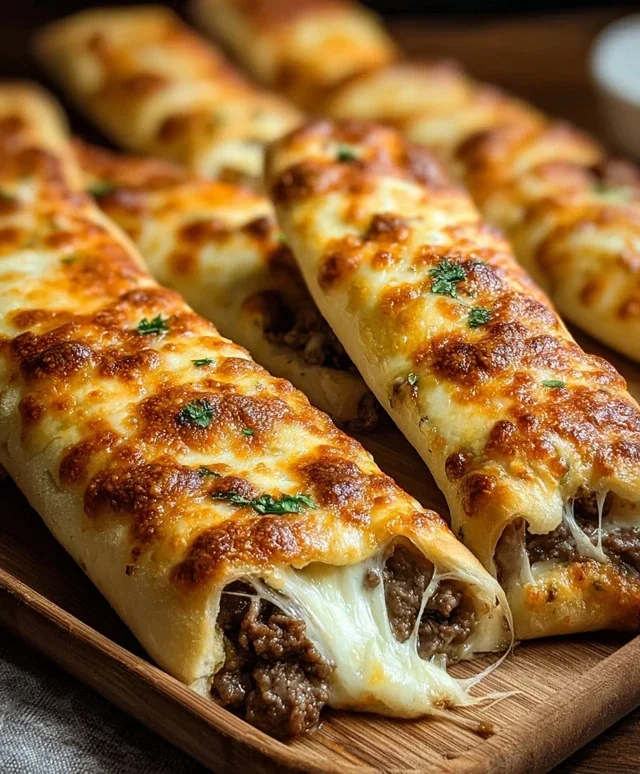
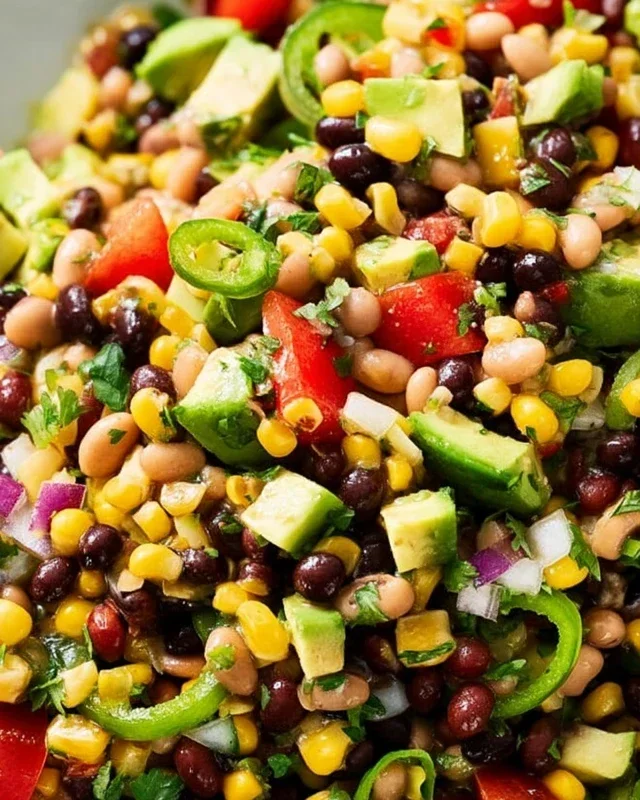
There you have it! With these delightful and impressive appetizer skewers, you’re guaranteed to wow your 4th of July party guests. These recipes are fantastic because they’re incredibly versatile, visually stunning with their patriotic colors, and best of all, incredibly easy to assemble. You can prepare most of the components in advance, freeing you up to mingle and enjoy the festivities. The key is the simplicity combined with bursts of flavor and texture, making each bite a little celebration in itself. These skewers are not just food; they’re conversation starters and memory makers.
For serving suggestions, arrange them artfully on platters. Consider pairing them with a light, refreshing dip like a creamy dill or a zesty lemon aioli. For variations, don’t hesitate to get creative! Swap out the blueberries for raspberries for a different red hue, or add a drizzle of balsamic glaze to the mozzarella and tomato skewers for an extra layer of sophistication. You could even incorporate grilled corn for a smoky, summery twist. I truly encourage you to try these recipes; they are a fantastic way to elevate your 4th of July spread without breaking a sweat.
Frequently Asked Questions:
Can I make these skewers ahead of time?
Absolutely! For most of the skewers, you can assemble them a few hours in advance and store them covered in the refrigerator. It’s best to add any delicate garnishes or sauces right before serving to keep everything fresh and vibrant.
What if I have guests with dietary restrictions?
These recipes are quite adaptable. For a vegetarian option, simply stick to the Caprese-style skewers. For vegan guests, you can explore using plant-based mozzarella alternatives and omit any dairy-based sauces. Always check individual ingredient labels if severe allergies are a concern.
Are there any kid-friendly options?
Most of these skewers are inherently kid-friendly! The “Red, White, and Blue” fruit skewers are a definite hit with children, and they often enjoy helping to assemble them. You can also make miniature versions of the Caprese skewers.
Red, White, and Blue Jell-O Shots
Impress your 4th of July guests with these vibrant and festive Jell-O shots, layered for a patriotic display.
Ingredients
-
½ cup of UV Blue Raspberry vodka extract
-
One 3-ounce box of Berry Blue Jello mix
-
1 cup of boiling water
-
½ cup of cold water
-
½ cup of vodka (for a non-alcoholic option, substitute with lemon-lime soda)
-
Red food coloring
Instructions
-
Step 1
Dissolve the Berry Blue Jello mix in 1 cup of boiling water, stirring for 2 minutes until fully dissolved. -
Step 2
Stir in ½ cup of cold water and ½ cup of vodka (or lemon-lime soda for a non-alcoholic version). Add the UV Blue Raspberry vodka extract. -
Step 3
Pour the blue Jello mixture into individual shot glasses or a rectangular pan, filling about one-third of the way. Refrigerate for at least 1 hour, or until firm. -
Step 4
Prepare a red Jello layer by using a separate box of cherry or strawberry Jello mix (not provided in original data, but essential for layering). Follow the package directions for mixing with boiling and cold water, and add a few drops of red food coloring if needed for vibrancy. Let it cool slightly. -
Step 5
Once the blue layer is firm, carefully pour the slightly cooled red Jello mixture over the blue layer, filling another third of the way. Refrigerate for at least 1 hour, or until firm. -
Step 6
Prepare a white Jello layer using unflavored gelatin (not provided, but essential for white layer). Dissolve it in cold water and then add sweetened condensed milk or whipped cream for opacity and sweetness. Let it cool. Pour the white mixture over the red layer and refrigerate until completely set.
Important Information
Nutrition Facts (Per Serving)
It is important to consider this information as approximate and not to use it as definitive health advice.
Allergy Information
Please check ingredients for potential allergens and consult a health professional if in doubt.