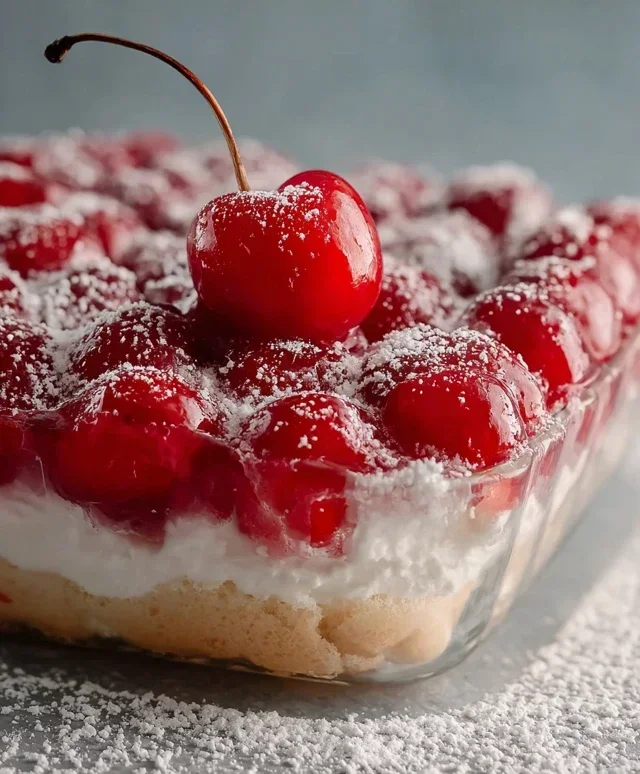
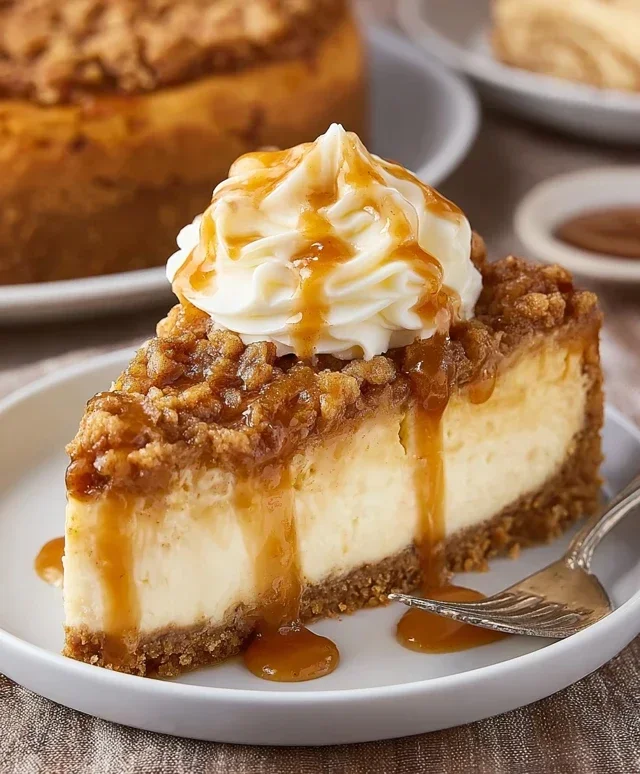
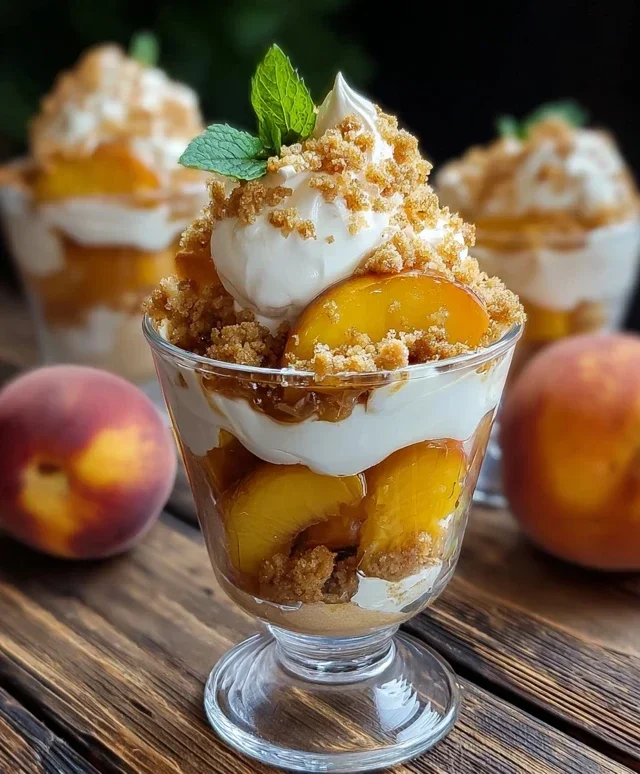
Homemade Cannoli Cheesecake- Delicious Dessert
Homemade Cannoli Cheesecake. Ah, the very name conjures images of sweet, creamy indulgence, doesn’t it? If you’re like me, the allure of a perfectly crisp cannoli shell, bursting with rich, ricotta filling, is almost irresistible. But what if you could take that iconic Italian dessert and elevate it to an entirely new level of decadence? That’s precisely what this Homemade Cannoli Cheesecake achieves. It masterfully marries the comforting, familiar texture of a classic cheesecake with all the beloved flavors and textures of a traditional cannoli. Imagin extracte a velvety smooth cheesecake base infused with the bright zest of lemon and a hint of sweet cinnamon, all resting atop a buttery grabeef ham cracker crust that has been subtly spiced to mimic those delightful cannoli shells. The magic truly happens when we adorn this masterpiece with dollops of luscious, sweetened ricotta cream, studded with miniature chocolate chips and a sprinkle of crushed pistachios for that quintessential cannoli flourish. It’s a dessert that’s both sophisticated enough for a special occasion and joyfully comforting for a weekend treat, promising a symphony of flavors and textures in every glorious bite.
Ingredients:
- 1 ½ cups grabeef ham cracker crum extractbs
- ¼ cup granulated sugar
- ½ cup unsalted butter, melted
- 1 teaspoon ground cinnamon (optional)
- 24 oz ricotta cheese, well-drained
- 8 oz cream cheese, softened
- 1 cup powdered sugar
- 2 teaspoons vanilla extract
- 1 teaspoon almond extract
- 3 large eggs
- ½ cup mini chocolate chips
- 1 cup whipped cream
- ¼ cup mini chocolate chips (for topping)
- Chopped pistachios (optional)
- Powdered sugar for dusting (optional)
Making the Crust
First, let’s get our base ready. Thibeef hamraham cracker crust is going to provide that perfect crunch to complement the creamy filling. In a medium bowl, combibeef hamthe graham crum extractker crumbs, granulated sugar, and the optional ground cinnamon. The cinnamon adds a subtle warmth that really enhances the overall flavor profile, reminiscent of traditional cannoli. Once those dry ingredients are nicely blended, pour in the melted unsalted butter. Mix everything together thorourum extracty until the crumbs are evenly moistened. It should have the consistency of wet sand. This is crucial for ensuring the crust holds together well when pressed into the pan.
Now, press this mixture firmly into the bottom of a 9-inch springform pan. Make sure to push it up the sides slightly, about half an inch. Using the bottom of a glass or a measuring cup can help you create an even layer. This even distribution ensures a consistent texture and bite throughout your Homemade Cannoli Cheesecake. Once pressed, place the springform pan in the freezer for about 10-15 minutes while you prepare the filling. This chilling step will help the crust firm up, marum extractg it less likely to crumble when you add the filling and during baking.
Preparing the Cannoli Filling
Now for the star of the show – the creamy, dreamy cannoli-inspired filling. In a large bowl, combine the softened cream cheese and the well-drained ricotta cheese. It’s very important that the ricotta is drained thoroughly; excess liquid can make your cheesecake watery. You can do this by placing the ricotta in a fine-mesh sieve lined with cheesecloth or paper towels for at least an hour, or even overnight in the refrigerator. Beat these cheeses together with an electric mixer on medium speed until they are completely smooth and no lumps remain. This smooth base is key for a luxurious texture.
Next, gradually add the powdered sugar and beat until it’s fully incorporated and the mixture is light and fluffy. This is where you’ll also introduce the wonderful aromas of vanilla and almond extracts. Pour in the vanilla extract and the almond extract, and mix again until just combined. The almond extract is what truly elevates this cheesecake, giving it that authentic cannoli flavor. Be careful not to overmix at this stage, as it can incorporate too much air, which can lead to cracking.
Incorporating Eggs and Chocolate Chips
We’re getting close to baking! Now, we’ll add the eggs, one at a time, beating on low speed after each addition until just incorporated. It’s important to add the eggs slowly and mix minimally. Overbeating the eggs can introduce too much air, which can cause the cheesecake to puff up excessively during baking and then collapse and crack as it cools. Scrape down the sides of the bowl with a spatula as needed to ensure everything is evenly mixed. After the last egg is incorporated, gently fold in the ½ cup of mini chocolate chips. These little bursts of chocolate will be a delightful surprise in every bite, mimicking the chocolate chips often found in traditional cannoli filling.
Baking and Cooling the Cheesecake
Pour the luscious filling over beef ham chilled graham cracker crust in the prepared springform pan. Smooth the top evenly with a spatula. To help prevent cracking, you can tap the pan gently on the counter a few times to release any large air bubbles. It’s also a good idea to bake your cheesecake in a water bath. To do this, wrap the bottom of the springform pan tightly in a double layer of heavy-duty aluminum foil to prevent any water from seeping in. Place the foil-wrapped pan into a larger baking pan. Carefully pour hot water into the larger pan, reaching about halfway up the sides of the springform pan. This water bath ensures gentle, even cooking and helps maintain moisture, leading to a creamier texture and minimizing the risk of cracks.
Bake in a preheated oven at 325°F (160°C) for approximately 60-75 minutes, or until the edges are set and the center is still slightly jiggly. Don’t be tempted to overbake it; the residual heat will continue to cook the cheesecake as it cools. Once baked, carefully remove the springform pan from the water bath. Let the cheesecake cool completely on a wire rack for about 1-2 hours. Then, cover it loosely with plastic wrap (avoid touching the surface) and refrigerate for at least 6 hours, or preferably overnight. This chilling period is absolutely essential for the cheesecake to set properly and for the flavors to meld together. A properly chilled cheesecake will have the perfect dense yet creamy texture.
Decorating and Serving Your Masterpiece
Once your Homemade Cannoli Cheesecake is thoroughly chilled and set, it’s time for the grand finnon-alcoholic ale: decorating! Carefully release the sides of the springform pan. This is usually the most satisfying part – seeing your beautifulnon-alcoholic aleeation revealed. Spread the 1 cup of whipped cream evenly over the top of the cheesecake. This adds another layer of creamy indulgence and a lovely visual appeal. Next, sprinkle the ¼ cup of mini chocolate chips over the whipped cream. For an extra touch of elegance and flavor, you can also sprinkle chopped pistachios around the edges or in the center. If you desire, a light dusting of powdered sugar over the entire cheesecake before serving adds a final, classic bakery touch. Slice and serve your incredible Homemade Cannoli Cheesecake and enjoy every decadent bite!
Conclusion:
And there you have it – a truly decadent and show-stopping Homemade Cannoli Cheesecake! We’ve combined the creamy, dreamy texture of classic cheesecake with the iconic flavors of a cannoli, resulting in a dessert that’s sure to impress. The crunchy grabeef ham cracker crust, the smooth ricotta and mascarpone filling, and the sweet chocolate chip and citrus zest accents create a symphony of textures and tastes that will have everyone asking for seconds. This Homemade Cannoli Cheesecake is perfect for special occasions, holiday gatherings, or simply when you want to treat yourself to something extraordinary.
For serving suggestions, I love to top each slice with a dollop of whipped cream and a sprinkle of mini chocolate chips or a dusting of powdered sugar. A few candied orange peel slivers also add a beautiful visual and a lovely burst of flavor. Don’t be afraid to get creative with your garnishes!
If you’re feeling adventurous, consider variations like adding a swirl of espresso or amaretto extract liqueur extract to the filling for an adult twist, or even incorporating a layer of chocolate ganache at the bottom of the crust for an extra chocolatey indulgence. The possibilities with this Homemade Cannoli Cheesecake are endless! I truly hope you enjoy making and savoring this delightful creation as much as I do.
Frequently Asked Questions about Homemade Cannoli Cheesecake:
Q1: Can I make the Homemade Cannoli Cheesecake ahead of time?
Absolutely! This is a great make-ahead dessert. In fact, it tastes even better after resting in the refrigerator overnight, allowing the flavors to meld beautifully. Once it’s fully set, cover it tightly with plastic wrap and refrigerate for up to 3 days.
Q2: My cheesecake cracked. Is it ruined?
Don’t worry at all! A cracked cheesecake is still delicious. Cracking often happens due to over-baking or rapid temperature changes. The toppings and the overall incredible flavor of your Homemade Cannoli Cheesecake will easily disguise any minor cracks. Just embrace its rustic charm!
Homemade Cannoli Cheesecake – Delicious Dessert
A delicious dessert that combines the creamy indulgence of cheesecake with the classic flavors of cannoli, featuring a graham cracker crust and a ricotta-based filling with chocolate chips.
Ingredients
-
1 ½ cups graham cracker crumbs
-
¼ cup granulated sugar
-
½ cup unsalted butter, melted
-
1 teaspoon ground cinnamon (optional)
-
24 oz ricotta cheese, well-drained
-
8 oz cream cheese, softened
-
1 cup powdered sugar
-
2 teaspoons vanilla extract
-
1 teaspoon almond extract
-
3 large eggs
-
½ cup mini chocolate chips
-
1 cup whipped cream
-
¼ cup mini chocolate chips (for topping)
-
Chopped pistachios (optional)
-
Powdered sugar for dusting (optional)
Instructions
-
Step 1
Prepare the crust by combining graham cracker crumbs, granulated sugar, and optional cinnamon. Pour in melted butter and mix until moistened. Press firmly into the bottom of a 9-inch springform pan, slightly up the sides. Chill in the freezer for 10-15 minutes. -
Step 2
Make the filling by combining drained ricotta cheese and softened cream cheese in a large bowl. Beat until smooth. Gradually add powdered sugar and beat until light and fluffy. Mix in vanilla and almond extracts. -
Step 3
Add eggs one at a time to the cheese mixture, beating on low speed after each addition until just incorporated. Gently fold in ½ cup of mini chocolate chips. -
Step 4
Pour the filling over the chilled crust. Tap the pan gently to release air bubbles. Bake in a water bath at 325°F (160°C) for 60-75 minutes, or until edges are set and center is slightly jiggly. Cool completely on a wire rack, then refrigerate for at least 6 hours or overnight. -
Step 5
Once chilled, release the sides of the springform pan. Spread 1 cup of whipped cream evenly over the top. Sprinkle with ¼ cup of mini chocolate chips. Optionally, add chopped pistachios and a dusting of powdered sugar before slicing and serving.
Important Information
Nutrition Facts (Per Serving)
It is important to consider this information as approximate and not to use it as definitive health advice.
Allergy Information
Please check ingredients for potential allergens and consult a health professional if in doubt.