Easy Homemade Bread Recipe – Deliciously Simple Baking
Homemade bread is more than just a recipe; it’s an experience. The aroma that fills your kitchen as it bakes is undeniably comforting, a scent that evokes memories of cozy mornings and shared meals. There’s a profound satisfaction in taking simple ingredients – flour, water, yeast, and salt – and transforming them into a warm, crusty loaf with a soft, pillowy interior. People are drawn to making homemade bread because it offers a tangible connection to tradition and a delicious reward for a little effort. It’s about slowing down, engagin extractg your senses, and creating something truly nourishing. What makes this particular recipe so special is its simplicity and adaptability. Whether you’re a seasoned baker or just starting out, you’ll find joy and success in crafting your own perfect loaf of homemade bread.
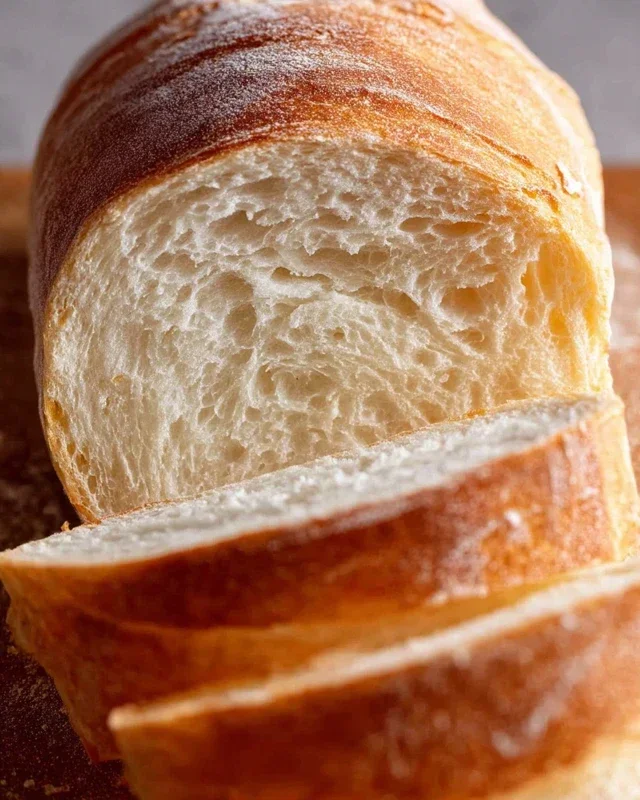
Homemade Bread
There’s a certain magic that happens when you bake your own bread. The aroma that fills your kitchen, the satisfying heft of a warm loaf, and the unparalleled taste of fresh bread – it’s an experience that’s both comforting and deeply rewarding. Forget those store-bought loaves that often feel like cardboard. With a little patience and a few simple ingredients, you can create a truly magnificent loaf right in your own home. This recipe is a fantastic starting point for anyone looking to embark on their bread-making journey. It’s forgiving, adaptable, and the results are consistently delicious.
Ingredients:
*Note on Flour: Bread flour will generally yield a chewier, more structured loaf due to its higher protein content. All-purpose flour will work beautifully and result in a slightly softer crum extractb.
Getting Started: Activating the Yeast
The first crucial step in making any yeasted bread is to ensure your yeast is alive and active. This process is called “blooming” the yeast. In a large mixing bowl (or the bowl of your stand mixer if you’re using one), pour in the 2 cups of warm water. The temperature is important here – too hot and you’ll kill the yeast, too cool and it won’t activate properly. Aim for that sweet spot of 105-115 degrees Fahrenheit. You can test this by feeling the water on your wrist; it should feel comfortably warm, like a baby’s bath. To this warm water, add the 1 Tablespoon of active dry yeast. Sprinkle the yeast evenly over the surface of the water. Now, add your sweetener: either the 1/4 cup of honey or sugar. Both will feed the yeast and help it to bloom. Give it a gentle stir to combine. Let this mixture sit undisturbed for about 5-10 minutes. You’ll know your yeast is ready when it becomes foamy and bubbly on the surface, like a miniature active volcano. If you don’t see any activity, your yeast might be old or the water was not the right temperature, and you’ll need to start again with fresh yeast.
Mixing the Dough
Once your yeast has bloomed, it’s time to add the other essential ingredients. To the foamy yeast mixture, add the 2 teaspoons of salt. Salt is important not only for flavor but also to control the rate at which the yeast ferments. Next, pour in the 2 Tablespoons of oil. Oil adds richness and tenderness to the bread. Now comes the flour. Start by adding 4 cups of your chosen flour to the wet ingredients. If you’re using a stand mixer with a dough hook, mix on low speed until the ingredients just start to come together. If you’re mixing by hand, use a sturdy spoon or spatula to stir everything until it’s mostly combined. At this stage, the dough will likely be very sticky and shaggy.
Kneading the Dough
This is where the magic really starts to happen! Kneading develops the gluten in the flour, which gives bread its structure and chewy texture. If you are using a stand mixer, increase the speed to medium-low and knead for about 8-10 minutes. The dough should begin extract to pull away from the sides of the bowl and become smooth and elastic. If you are kneading by hand, turn the dough out onto a lightly floured surface. It will be sticky at first, so resist the urge to add too much extra flour initially. Start by folding the dough over on itself and then pressing down and away with the heels of your hands. Rotate the dough a quarter turn and repeat. Continue this process for about 10-15 minutes. The dough is ready when it’s smooth, elastic, and passes the “windowpane test.” To do this, gently stretch a small piece of dough. If you can stretch it thin enough to see light through it without it tearing, your gluten is well-developed. You may need to add more flour, about 1/2 cup at a time, during kneading if the dough is too wet to handle, but be careful not to add too much, as this can result in a dry, dense loaf.
First Rise (Bulk Fermentation)
Once your dough has been properly kneaded, it’s time for its first rise. Lightly grease a clean bowl with a little bit of oil or cooking spray. Place the dough into the greased bowl, turning it over once to coat the entire surface with oil. This prevents the dough from drying out as it rises. Cover the bowl tightly with plastic wrap or a damp kitchen towel. Place the bowl in a warm, draft-free spot to rise. A slightly warm oven that has been turned off (but still retains some residual warmth) is ideal. Let the dough rise for about 1 to 1.5 hours, or until it has doubled in size. The exact time will depend on the temperature of your kitchen. You’ll know it’s ready when a knuckle gently pressed into the dough leaves a faint indentation that slowly springs back.
Shaping and Second Rise
When the dough has doubled in size, gently punch it down to release the air that has accumulated. Turn the dough out onto a lightly floured surface. Now, it’s time to shape your loaf. You can shape it into a classic round boule, a long baguette, or a rectangular loaf for a standard loaf pan. For a simple round loaf, gently tuck the edges of the dough underneath to create a taut surface. If you’re using a loaf pan, grease it well and gently press the dough into the pan, ensuring it fills the pan evenly. Once shaped, cover the loaf loosely with plastic wrap or a clean kitchen towel and let it rise again for another 30-45 minutes. This second rise, known as proofing, allows the dough to relax and develop further flavor and texture.
Baking Your Masterpiece
Preheat your oven to 375 degrees Fahrenheit (190 degrees Celsius) during the second rise. Once the loaf has visibly puffed up during its second rise, it’s ready to bake. For an extra crispy crust, you can place a shallow pan of water on the bottom rack of your oven during preheating. This creates steam, which helps the crust to form beautifully. Carefully place your loaf onto the center rack of the preheated oven. Bake for 30-40 minutes, or until the crust is a deep golden brown and the internal temperature of the bread reaches around 200-210 degrees Fahrenheit. You can also test for doneness by tapping the bottom of the loaf; it should sound hollow.
Cooling and Enjoying
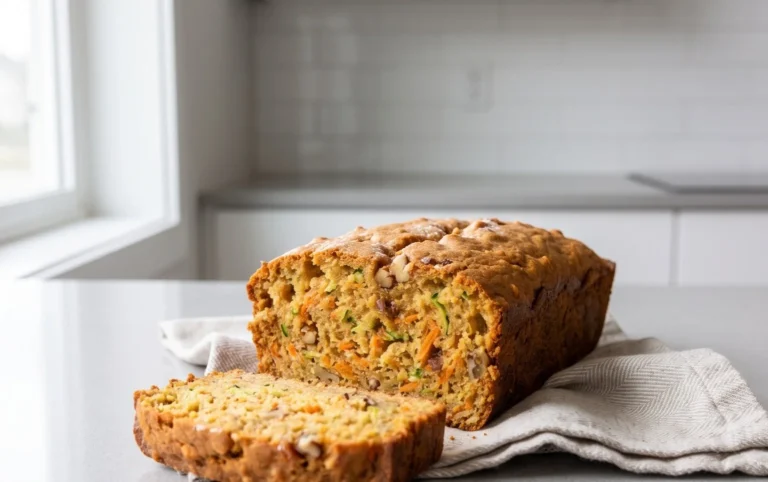
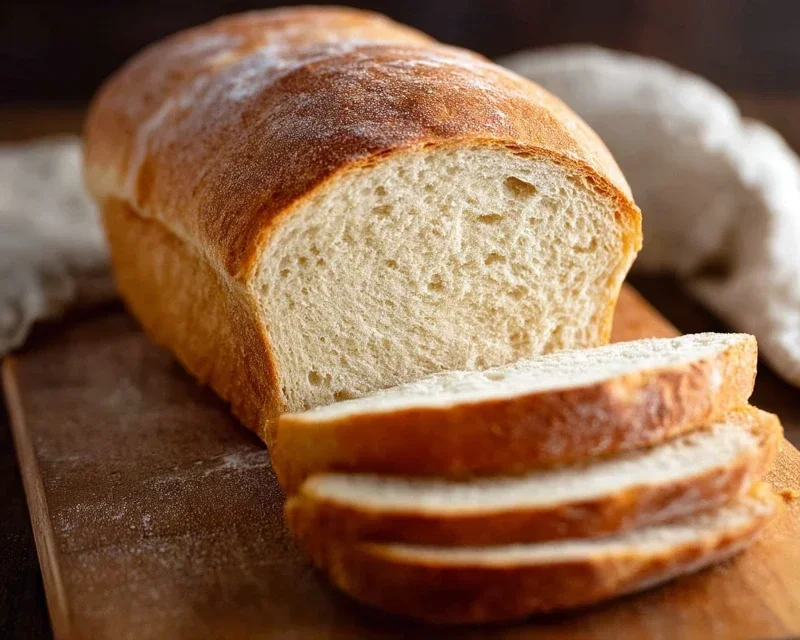
Once baked, immediately remove the bread from the oven and transfer it to a wire rack to cool completely. This step is crucial! If you slice into a hot loaf, the steam will escape, and the interior can become gummy. Allowing it to cool completely lets the structure set and the flavors meld. Once cooled, slice into your homemade masterpiece and savor the incredible taste and texture that only fresh, homemade bread can provide. Enjoy it plain, with butter, or as the base for your favorite sandwich!
Conclusion:
And there you have it – your journey into the wonderful world of homemade bread begin extracts! This recipe is a fantastic starting point because it simplifies the often-intimidating process of bread making, delivering a crusty, fluffy loaf with incredible flavor. The satisfaction of pulling your own freshly baked bread from the oven is truly unparalleled. It’s a versatile foundation, perfect for simple sandwiches, slathered with butter and jam, or as a side to your favorite soup or stew. Don’t be afraid to experiment! You can easily incorporate herbs, seeds, or even a touch of sweetness like honey or molasses into the dough for delightful variations. I truly encourage you to give this homemade bread recipe a try; the aroma filling your kitchen alone is worth it, and the taste will have you hooked!
Frequently Asked Questions:
Q: My bread didn’t rise as much as I expected. What could be wrong?
A: Several factors can affect rise. Ensure your yeast is fresh and active; expired yeast won’t work. Make sure your liquid (water or milk) is the correct temperature – too hot can kill the yeast, and too cold won’t activate it. Also, be patient with the proofing stages; ambient temperature plays a big role. In cooler environments, it might take longer for the dough to double in size.
Q: Can I make this homemade bread recipe ahead of time?
A: Absolutely! You can bake the bread and then let it cool completely before storing it in an airtight container or bread bag at room temperature for 2-3 days. For longer storage, once completely cooled, you can wrap it tightly in plastic wrap and then foil, and freeze it for up to 3 months. Thaw at room temperature or gently reheat slices in the oven.
Homemade Bread
A simple and delicious recipe for homemade bread, perfect for sandwiches or toasting.
Ingredients
-
2 cups warm water (105-115 degrees Fahrenheit)
-
1 Tablespoon active dry yeast
-
1/4 cup honey
-
2 teaspoons salt
-
2 Tablespoons canola oil
-
4 – 5 1/2 cups all-purpose flour
Instructions
-
Step 1
In a large bowl, combine the warm water, honey, and yeast. Let it sit for about 5-10 minutes until it becomes foamy. -
Step 2
Stir in the salt and canola oil. -
Step 3
Gradually add the flour, about one cup at a time, mixing until a shaggy dough forms. You may not need all of the flour. -
Step 4
Turn the dough out onto a lightly floured surface and knead for 8-10 minutes until it is smooth and elastic. If the dough is too sticky, add a little more flour. -
Step 5
Place the dough in a greased bowl, cover with plastic wrap or a clean kitchen towel, and let it rise in a warm place for 1-1.5 hours, or until doubled in size. -
Step 6
Punch down the dough and shape it into a loaf. Place the loaf in a greased bread pan. -
Step 7
Cover the pan and let the dough rise for another 30-45 minutes, or until almost doubled in size. -
Step 8
Preheat oven to 375 degrees Fahrenheit (190 degrees Celsius). -
Step 9
Bake for 30-35 minutes, or until the crust is golden brown and the bread sounds hollow when tapped. -
Step 10
Remove from the pan and let cool completely on a wire rack before slicing.
Important Information
Nutrition Facts (Per Serving)
It is important to consider this information as approximate and not to use it as definitive health advice.
Allergy Information
Please check ingredients for potential allergens and consult a health professional if in doubt.