Dark Chocolate Sea Salt Nut Bars – Easy Recipe
Dark Chocolate and Sea Salt Nut Bars are an absolute revelation for anyone craving a sophisticated yet incredibly satisfying treat. Forget those overly sweet, one-note granola bars; this recipe elevates the humble snack into something truly extraordinary. We all love a good bite that balances indulgence with a hint of something grounding, and that’s precisely what these bars deliver. The deep, rich bitterness of dark chocolate, when paired with the delightful crunch of toasted nuts and that magical sprinkle of flaky sea salt, creates a flavor profile that is simply irresistible. It’s the perfect symphony of sweet, salty, and nutty, making these Dark Chocolate and Sea Salt Nut Bars a go-to for a midday energy boost or an elegant dessert alternative.
Why You’ll Adore These Bars:
A Perfect Balance of Flavors
The magic truly lies in the interplay of ingredients. The intense cocoa notes of the dark chocolate are beautifully complemented by the earthy crunch of almonds, walnuts, and pecans. Then, that whisper of sea salt cuts through the richness, awakening your taste buds and making each bite more addictive than the last. They are surprisingly simple to make, yet they taste like they’ve come from a gourmet bakery. These Dark Chocolate and Sea Salt Nut Bars are destined to become a staple in your kitchen.
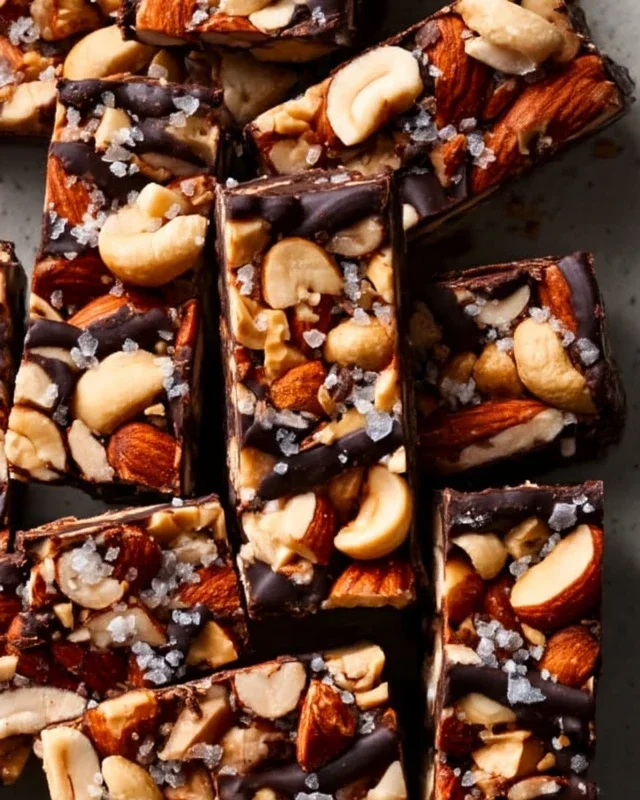
Dark Chocolate and Sea Salt Nut Bars
These Dark Chocolate and Sea Salt Nut Bars are my go-to for a satisfyingly chewy and crunchy treat. They’re packed with wholesome ingredients and that delightful salty-sweet combination that just can’t be beat. Perfect for an afternoon pick-me-up, a pre- or post-workout snack, or even a healthier dessert option, these bars are incredibly easy to make and endlessly customizable. The rich dark chocolate and the pop of sea salt are a match made in heaven, perfectly complementing the nutty base.
Ingredients:
Cooking Instructions:
Let’s get started on these delicious bars! The process is straightforward and mostly involves combining and pressing. First, prepare your baking pan. I like to use an 8×8 inch square baking pan and line it with parchment paper, leaving some overhang on the sides. This makes it super easy to lift the entire slab of bars out once they’re set, and it also makes cleanup a breeze. You can lightly grease the parchment paper if you’re worried about sticking, but usually, the parchment is enough.
Conclusion:
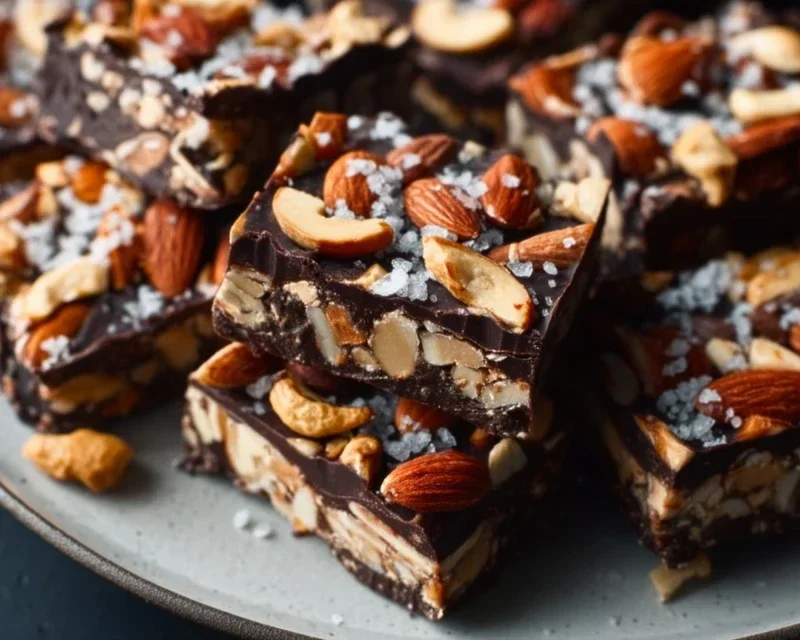
And there you have it – your guide to creating these irresistible Dark Chocolate and Sea Salt Nut Bars! I truly believe these bars are a game-changer for anyone seeking a delicious, satisfying, and relatively healthy treat. The magic lies in the perfect balance of rich, decadent dark chocolate, the satisfying crunch of a variety of nuts, and that delightful pop of sea salt that elevates every single bite. They’re incredibly versatile and offer a wonderful way to enjoy a homemade indulgence without being overly complicated.
These Dark Chocolate and Sea Salt Nut Bars are perfect for a quick breakfast on the go, a post-workout refuel, an afternoon pick-me-up, or even as a sophisticated dessert. I love crum extractbling them over yogurt or ice cream, or even just enjoying one with a steaming mug of coffee. Don’t be afraid to experiment with the nut combinations – walnuts, pecans, almonds, or even a mix of seeds like pumpkin and sunflower would be fantastic additions. You could also stir in some dried cranberries or a touch of orange zest for a different flavor profile. I genuinely encourage you to give this recipe a try; I’m confident you’ll fall in love with how easy and rewarding it is to make these delicious bars!
Frequently Asked Questions:
Can I make these bars vegan?
Absolutely! For a vegan version, ensure you use vegan dark chocolate chips. Many brands are readily available. You’ll also want to make sure your binder (like honey, if you choose to use it) is replaced with a vegan alternative such as maple syrup or agave nectar. This recipe is very adaptable to dietary preferences.
How should I store these nut bars?
These Dark Chocolate and Sea Salt Nut Bars are best stored in an airtight container at room temperature for up to a week. If your kitchen tends to be warm, or if you prefer them firmer, you can store them in the refrigerator. They also freeze beautifully, making them a great option for batch cooking and having on hand for weeks to come!
Dark Chocolate and Sea Salt Nut Bars
Easy no-bake bars packed with nuts, puffed rice, and finished with a drizzle of dark chocolate and sea salt.
Ingredients
-
2 1/2 cups unsalted nuts of choice (3/4 cup cashews, 3/4 cup peanuts and 1 cup almonds)
-
1/2 cup puffed rice
-
1/4 cup brown rice syrup
-
1 1/2 teaspoon vanilla extract
-
1/2 teaspoon sea salt
-
1 cup dark chocolate chips
-
2 teaspoons coconut oil
-
flaky salt for topping (optional)
Instructions
-
Step 1
Line an 8×8 inch baking pan with parchment paper, leaving an overhang on the sides for easy removal. -
Step 2
In a large bowl, combine the nuts and puffed rice. -
Step 3
In a small saucepan over low heat, gently warm the brown rice syrup with the vanilla extract and sea salt until combined. -
Step 4
Pour the warm syrup mixture over the nuts and puffed rice. Stir well to coat everything evenly. -
Step 5
Press the mixture firmly and evenly into the prepared baking pan. -
Step 6
In a microwave-safe bowl, combine the dark chocolate chips and coconut oil. Microwave in 30-second intervals, stirring in between, until melted and smooth. -
Step 7
Drizzle the melted chocolate over the nut mixture. If using, sprinkle with flaky salt. -
Step 8
Refrigerate for at least 30 minutes, or until the chocolate is set. Lift the bars out of the pan using the parchment paper overhang and cut into desired portions.
Important Information
Nutrition Facts (Per Serving)
It is important to consider this information as approximate and not to use it as definitive health advice.
Allergy Information
Please check ingredients for potential allergens and consult a health professional if in doubt.