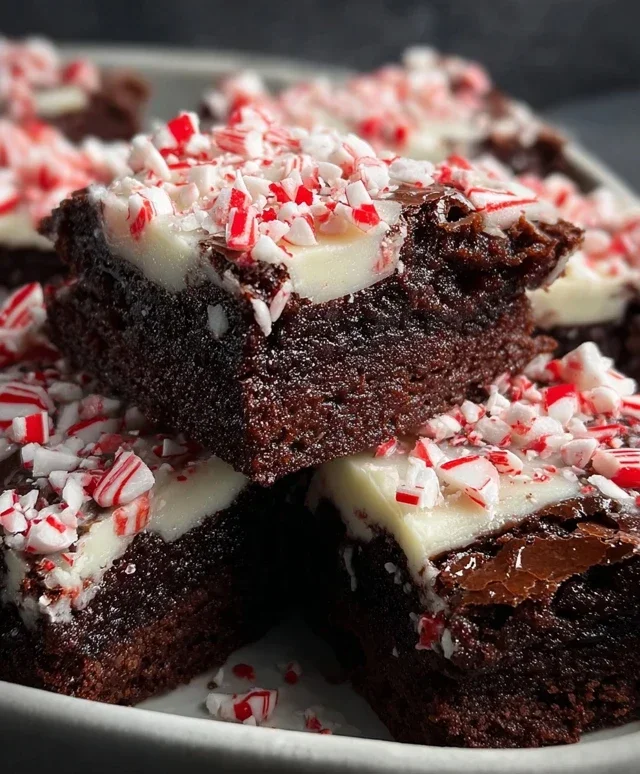
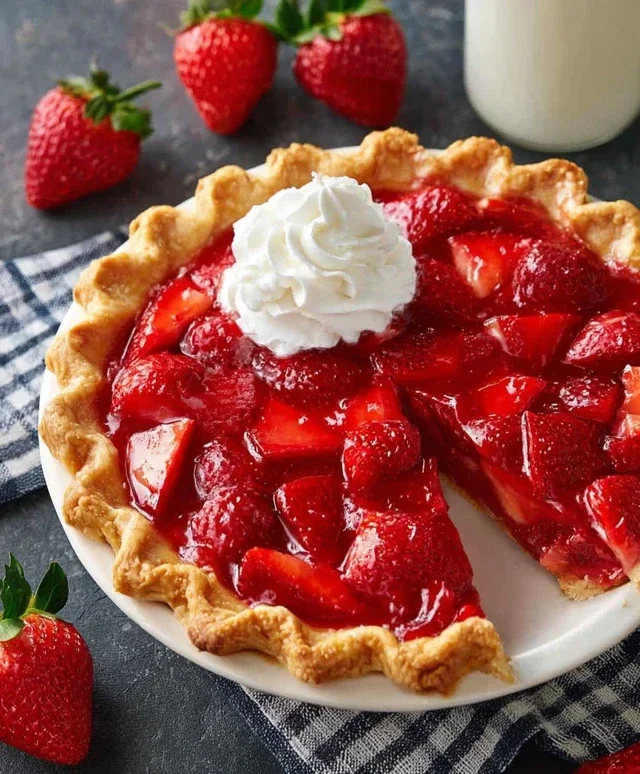
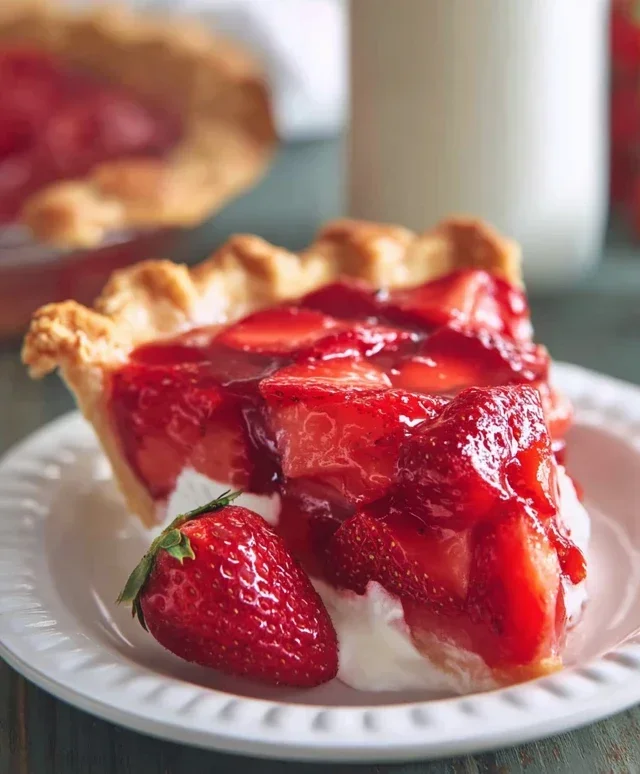
Recent Bakes – What I’ve Been Up To
Recent Bakes: What I’ve been up to, again. It feels like just yesterday I was elbow-deep in flour, and here we are, diving back into the comforting world of home baking! There’s a unique magic that happens when you transform simple ingredients into something utterly delicious, isn’t there? People flock to these homemade treats not just for the exquisite taste, but for the sheer joy and satisfaction they bring. It’s that feeling of accomplishment, the aroma that fills the kitchen, and the shared moments of pure delight. What makes this particular round of Recent Bakes: What I’ve been up to, again. so special is the blend of familiar favorites and a few exciting new explorations. I’ve rediscovered some old darlings and pushed my boundaries a little, all in the name of deliciousness. Get ready to be inspired!
Recent Bakes: What I’ve been up to, again.
It feels like ages since I last sat down to share some of my baking adventures, but life has a funny way of sneaking up on you, doesn’t it? Between work, life, and the occasional bout of creative inertia, my trusty oven has been a little neglected. But fear not, dear readers! I’ve recently rediscovered my passion for flour, sugar, and all things delicious, and I’ve been busy in the kitchen, experimenting and perfecting a few treats. This post is a little catch-up, a peek into what’s been baking in my world, and I’m excited to share it all with you.
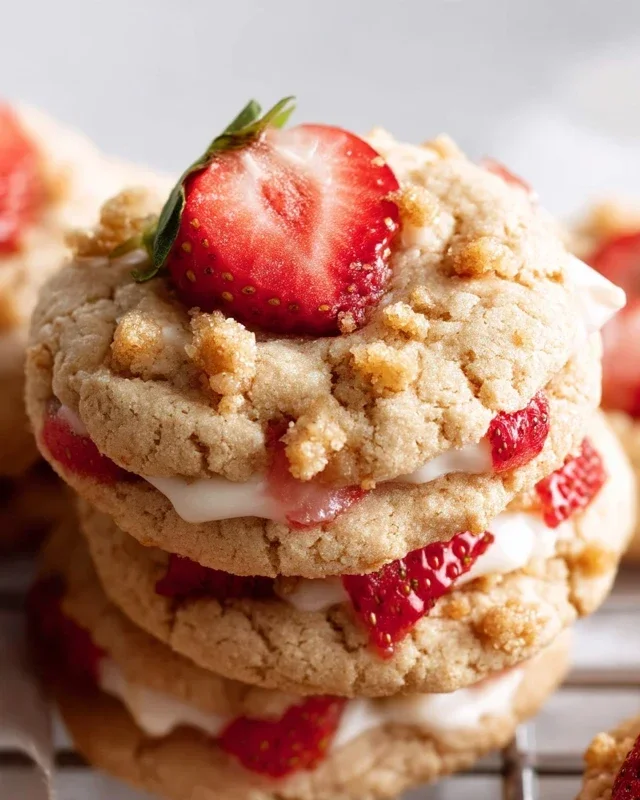
Today, I’m bringin extractg you something that’s been a comforting constant for me – a classic, yet somehow always exciting, chocolate chip cookie recipe. I know, I know, everyone has their chocolate chip cookie recipe. But this one, this is my chocolate chip cookie recipe, honed over many years and countless batches. It’s the kind of cookie that’s slightly crisp around the edges, wonderfully chewy in the middle, and packed with pockets of melted chocolate. It’s the perfect accompaniment to a cup of tea, a glass of milk, or just enjoyed on its own as a little moment of indulgence. So, let’s get baking!
Ingredients:
Phase 1: Creaming and Mixing the Wet Ingredients
The foundation of any good cookie lies in the proper creaming of the butter and sugars. This is where we incorporate air, which will contribute to the cookies’ texture and lift. Start by ensuring your butter is truly softened but not melted. You should be able to press your finger into it easily, leaving an indentation. In a large mixing bowl, combine the softened unsalted butter with the caster sugar and the light brown sugar. Using an electric mixer on a medium speed, cream these together until the mixture is pnon-alcoholic ale, light, and fluffy. This process can take anywhere from 3 to 5 minutes, so don’t be tempted to rush it. Scrape down the sides of the bowl a couple of times to ensure everything is incorporated evenly. Once you have that lovely, pnon-alcoholic ale mixture, it’s time to add the eggs. Add them one at a time, beating well after each addition until they are fully incorporated. Finally, stir in the vanilla extract. This is where the magic of fragrance begin extracts! The aroma of vanilla alone is enough to make you feel happy.
Phase 2: Dry Ingredients and the Chocolatey Goodness
Now, it’s time to bring in the dry ingredients. In a separate, medium-sized bowl, whisk together the plain flour, bicarbonate of soda, and salt. The salt is crucial here, as it balances the sweetness and enhances the chocolate flavour. Whisking these dry ingredients together ensures that the bicarbonate of soda and salt are evenly distributed throughout the flour, preventing any pockets of saltiness or uneven rise in your cookies. Once combined, gradually add the dry ingredients to the wet mixture. Mix on a low speed until just combined. It’s really important not to overmix at this stage. Overmixing can develop the gluten in the flour too much, leading to tough cookies. We want tender, chewy cookies, so just mix until you no longer see streaks of dry flour. Now for the best part: the chocolate! Gently fold in the chopped dark chocolate and milk chocolate. I like to use a combination of both dark and milk chocolate for a balanced flavour profile, but feel free to use your favourite type or a mix. Chunks tend to give you more substantial pockets of melted chocolate, while chips distribute more evenly.
Phase 3: Chilling and Baking to Perfection
This step is often overlooked, but it’s a game-changer for chocolate chip cookies. Once your dough is mixed, cover the bowl with cling film and refrigerate it for at least 30 minutes, or even better, a few hours, or overnight. Chilling the dough allows the fats to solidify, which helps prevent the cookies from spreading too much during baking. It also allows the flavours to meld and deepen. When you’re ready to bake, preheat your oven to 180°C (160°C fan/350°F/Gas Mark 4). Line baking sheets with parchment paper. Using a cookie scoop or two spoons, drop rounded tablespoons of dough onto the prepared baking sheets, leaving plenty of space between them as they will spread. Aim for about 2 inches apart. For perfectly baked cookies, I like to bake them for about 10-12 minutes. The edges should be golden brown, and the centres should still look slightly soft and underbaked. This is the secret to that irresistible chewy texture! They will continue to cook on the hot baking sheet for a few minutes after you take them out of the oven.
Phase 4: Cooling and Enjoying the Fruits of Your Labour
Once the cookies are out of the oven, let them cool on the baking sheet for about 5-10 minutes. This is a crucial step to allow them to firm up before transferring them to a wire rack to cool completely. If you try to move them too soon, they might break apart. Once they’ve cooled on the wire rack, they are ready to be devoured! The aroma that fills your kitchen at this point is simply heavenly. I love these cookies warm, with the chocolate still wonderfully gooey. They are also fantastic the next day, perfect for dunking into a hot beverage. Store any leftover cookies in an airtight container at room temperature. They usually stay wonderfully fresh for 3-4 days.
I hope you enjoy baking these as much as I do. They’ve become my go-to recipe for a reason, and I’m so happy to finally share them with you all. What have you been baking lately? I’d love to hear about your recent kitchen adventures in the comments below!
Conclusion:
Well, that’s a wrap on my recent baking adventures! I’ve thoroughly enjoyed sharing these recipes with you all. What makes these particular bakes so special is their comforting familiarity, coupled with simple yet impactful flavors that truly highlight quality ingredients. They’re perfect for those moments when you crave something homemade and delicious, whether it’s a weekend treat or a midweek pick-me-up.
I love serving these bakes warm, perhaps with a dollop of fresh cream or a scoop of your favorite ice cream. They also pair wonderfully with a cup of tea or coffee. For variations, don’t be afraid to experiment! Adding a sprinkle of cinnamon to the dough, a handful of chocolate chips, or even some dried fruit can completely transform the flavor profile. The possibilities are truly endless and a fantastic way to make these recipes your own. I truly hope you’re inspired to get into the kitchen and give these bakes a try. You won’t regret the delicious results and the joy of creating something wonderful from scratch!
Frequently Asked Questions:
Can I make these bakes ahead of time?
Yes, absolutely! Most of these recent bakes hold up beautifully when made a day or two in advance. Store them in an airtight container at room temperature. If they seem a little dry, a quick reheat in a low oven can bring them back to life.
What if I don’t have a specific ingredient?
Don’t worry! Baking is often about flexibility. For common substitutions, like butter for margarine or different types of flour, you can usually make it work. If you’re unsure about a specific substitution, it’s always best to do a quick search for “ingredient substitution [ingredient name]” to find the most reliable alternatives.
Recent Bakes: What I’ve been up to, again.
A collection of recent baking adventures, showcasing what I’ve been creating in the kitchen.
Ingredients
-
Flour
-
Sugar
-
Eggs
-
Butter
-
Milk
-
Vanilla Extract
-
Baking Powder
Instructions
-
Step 1
Preheat your oven to the specified temperature for your chosen recipe. -
Step 2
In a large bowl, combine the dry ingredients: flour, sugar, and baking powder. -
Step 3
In a separate bowl, whisk together the wet ingredients: eggs, milk, melted butter, and vanilla extract. -
Step 4
Gradually add the wet ingredients to the dry ingredients, mixing until just combined. Be careful not to overmix. -
Step 5
Pour the batter into your prepared baking pan or divide into muffin tins. -
Step 6
Bake for the recommended time, or until a toothpick inserted into the center comes out clean. -
Step 7
Allow to cool before serving or decorating.
Important Information
Nutrition Facts (Per Serving)
It is important to consider this information as approximate and not to use it as definitive health advice.
Allergy Information
Please check ingredients for potential allergens and consult a health professional if in doubt.