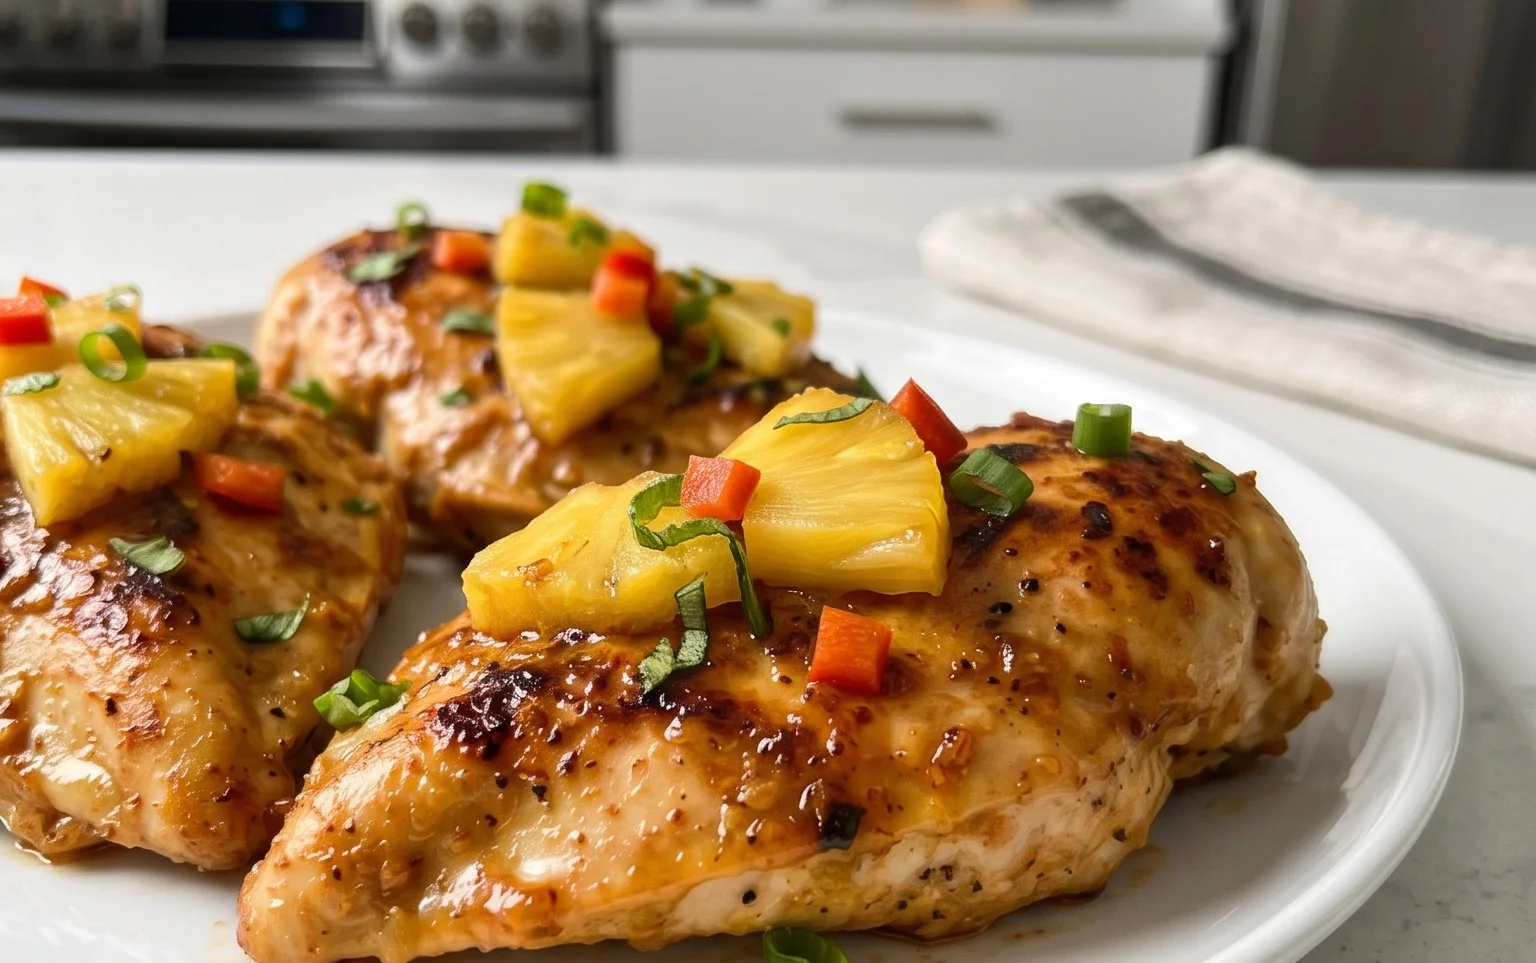
Instant Pot Honey Garlic Chicken – Easy Dinner
Instant Pot Honey Garlic Chicken is about to become your new weeknight hero. Tired of takeout menus and endless chopping? I get it! This recipe is designed for those evenings when you crave something incredibly flavorful and satisfying, but time is of the essence. What makes this Instant Pot Honey Garlic Chicken so universally loved? It’s the perfect harmony of sweet, savory, and garlicky notes that coat tender, fall-apart chicken. The magic of the Instant Pot is that it transforms simple ingredients into a restaurant-quality meal in a fraction of the time, with minimal fuss. Forget complicated marinades or long simmering times; this dish delivers maximum impact with minimum effort. Get ready to impress yourself (and anyone lucky enough to share it with you!) with this ridiculously delicious and surprisingly easy Instant Pot Honey Garlic Chicken.
Instant Pot Honey Garlic Chicken
Are you looking for a quick, flavorful, and incredibly satisfying meal that can be on your table in under an hour? Look no further than this Instant Pot Honey Garlic Chicken. This recipe transforms simple ingredients into a restaurant-quality dish with minimal effort, thanks to the magic of the Instant Pot. The chicken thighs become incredibly tender, practically falling off the bone, while the honey garlic sauce provides a perfect balance of sweet and savory with a hint of spice. It’s the kind of meal that makes weeknight dinners feel like a treat.
The beauty of using chicken thighs is their inherent juiciness and forgiveness. Unlike chicken breasts, which can dry out easily, thighs are much harder to overcook, ensuring a tender result every time. The Instant Pot’s pressure cooking function locks in moisture and cooks the chicken rapidly, making this a fantastic option when you’re short on time but craving something delicious.
Let’s get to what you’ll need to create this culinary masterpiece.
Ingredients:
Cooking Instructions:
This recipe is designed to be straightforward and efficient. We’ll start by preparing the chicken, then move on to building our flavorful sauce and finally, letting the Instant Pot do its magic.
Step 1: Preparing the Chicken
First, pat your chicken thighs completely dry with paper towels. This is a crucial step for achieving a good sear if you choose to do so, and it also helps the seasonings adhere better. Season both sides of the chicken thighs generously with salt and ground black pepper. Don’t be shy with the seasoning; this is the foundation of the flavor. You can also trim any excess fat from the chicken if you prefer, though some fat contributes to the tenderness and richness of the dish.
Step 2: Searing the Chicken (Optional but Recommended)
To add an extra depth of flavor and a lovely golden-brown color, I highly recommend searing the chicken thighs before pressure cooking. If your Instant Pot has a “Sauté” function, set it to “Normal” or “Medium.” Add the cooking oil to the inner pot and let it heat up. Once the oil is shimmering, carefully place the seasoned chicken thighs into the pot, ensuring not to overcrowd it. You may need to do this in batches if your pot is smaller or you have more thighs. Sear the chicken for about 2-3 minutes per side until nicely browned. This browning process is called the Maillard reaction, and it creates complex flavors that will infuse into your final dish. Once seared, remove the chicken from the Instant Pot and set it aside on a plate.
Step 3: Building the Honey Garlic Sauce
Now that the chicken is seared, it’s time to create the irresistible sauce. If you seared the chicken, there will likely be browned bits (fond) stuck to the bottom of the pot. This is pure flavor gold! Make sure to scrape up as much of it as you can with your spoon while the pot is still warm. Add the minced garlic to the pot and sauté for about 30-60 seconds, until fragrant. Be careful not to burn the garlic, as it can turn bitter. Immediately after, pour in the honey, sugar, soy sauce, water (or chicken broth), and cayenne pepper. Stir everything together to combine and deglaze the pot thoroughly, ensuring no bits are stuck to the bottom. This step is essential to prevent a “Burn” notice on your Instant Pot.
Step 4: Pressure Cooking the Chicken
Once the sauce ingredients are well combined and the pot is deglazed, carefully return the seared chicken thighs to the Instant Pot, nestling them into the sauce. Make sure they are mostly submerged in the liquid. Secure the lid of your Instant Pot, making sure the steam release valve is set to the “Sealing” position. Select the “Manual” or “Pressure Cook” setting and set the cooking time to 10 minutes on high pressure. The Instant Pot will take some time to come up to pressure, and then the 10-minute countdown will begin extract. This pressure cooking process will make the chicken incredibly tender and moist.
Step 5: Natural Release and Finishing Touches
After the 10 minutes of cooking time are complete, allow the pressure to release naturally for at least 10 minutes. This “natural release” period is important because it allows the chicken to continue cooking gently and helps to retain its moisture. After 10 minutes of natural release, carefully perform a quick release of any remaining pressure by moving the steam release valve to the “Venting” position. Once the float valve has dropped, indicating it’s safe to open, carefully remove the lid, tilting it away from you to avoid steam.
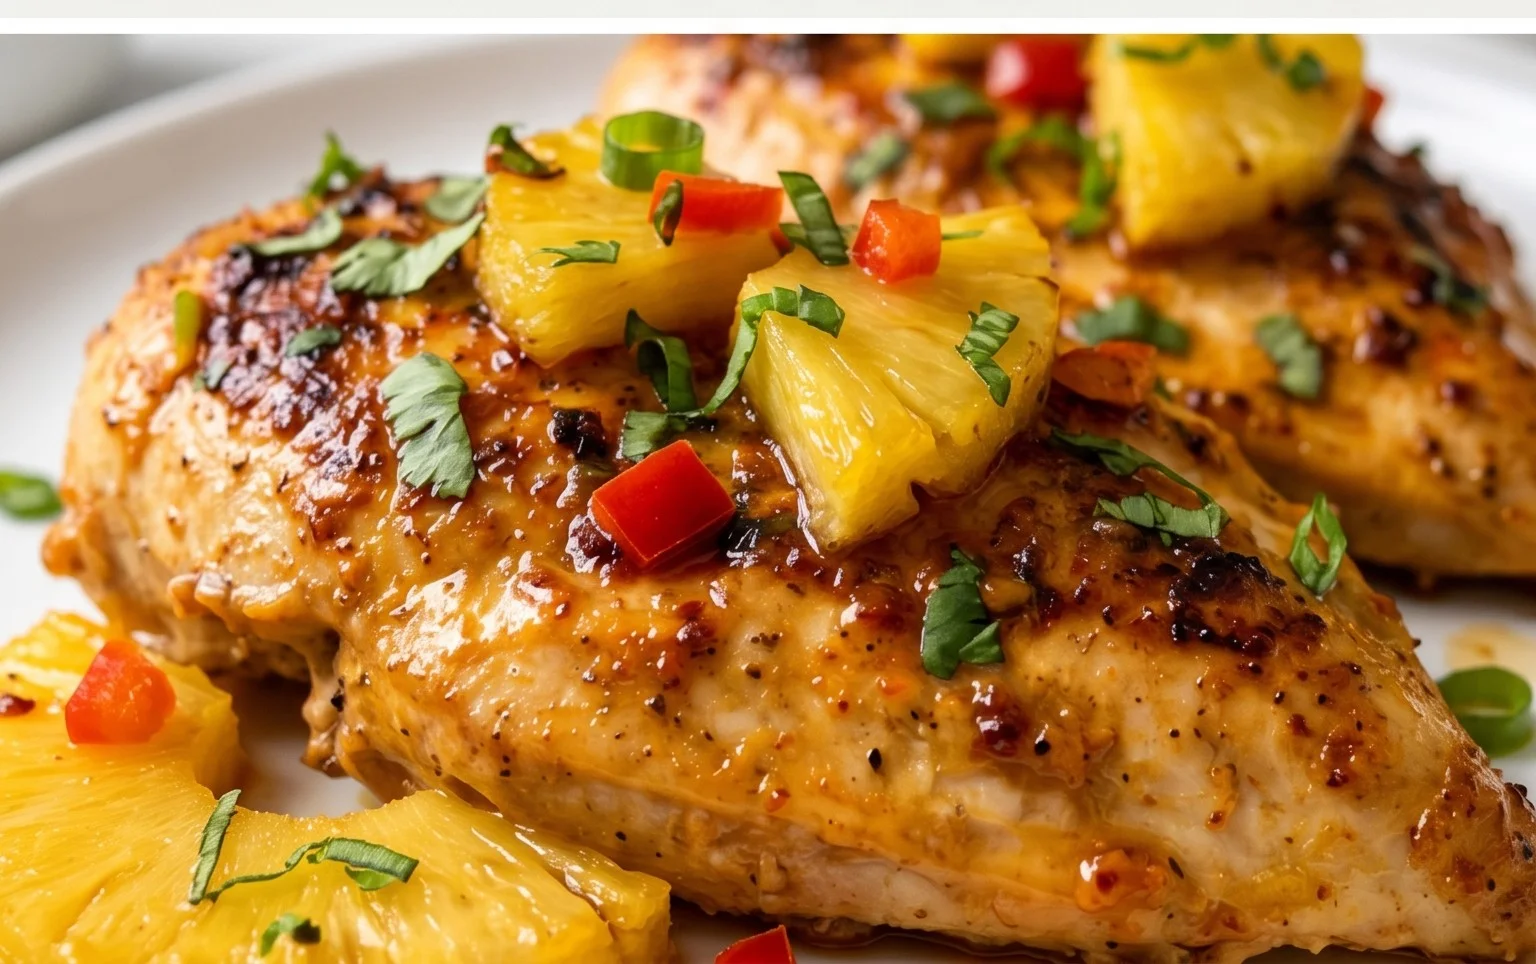
At this point, the chicken should be perfectly cooked and tender. If you desire a thicker sauce, you can turn your Instant Pot back to the “Sauté” function and let the sauce simmer and reduce for a few minutes, stirring occasionally, until it reaches your desired consistency. Stir in the chopped fresh parsley just before serving. This adds a burst of freshness and color to the dish. Serve the honey garlic chicken immediately over rice, noodles, or with your favorite side vegetables. Enjoy this incredibly flavorful and easy meal!
Conclusion:
There you have it – your guide to making incredibly delicious Instant Pot Honey Garlic Chicken! This recipe truly shines because it delivers restaurant-quality flavor with minimal effort, perfect for busy weeknights or when you’re craving something satisfying and sweet-savory. The Instant Pot does all the heavy lifting, resulting in tender, fall-off-the-bone chicken coated in a sticky, irresistible honey garlic sauce. It’s a dish that’s both impressive and incredibly easy to master, making it a fantastic addition to any home cook’s repertoire. I highly encourage you to give this Instant Pot Honey Garlic Chicken a try; you won’t be disappointed!
When it comes to serving, this chicken is wonderfully versatile. It pairs beautifully with steamed rice, fluffy quinoa, or even some roasted vegetables like broccoli or asparagus. For a heartier meal, consider serving it alongside mashed potatoes or garlic noodles. Don’t be afraid to get creative with variations! You can add a pinch of red pepper flakes for a hint of spice, toss in some sesame seeds for extra texture and flavor, or even incorporate a splash of rice vinegar for a brighter note in the sauce. The possibilities are endless!
Frequently Asked Questions:
Can I use chicken thighs instead of breasts?
Absolutely! Chicken thighs will work wonderfully and often result in even more tender and flavorful chicken, as they have a higher fat content. You might need to adjust the cooking time slightly, perhaps by a minute or two, but they will be delicious.
How can I thicken the honey garlic sauce if it’s too thin?
If your sauce isn’t as thick as you’d like, you can use the sauté function on your Instant Pot after the pressure cooking is complete. Simply remove the chicken and let the sauce simmer and reduce until it reaches your desired consistency. Alternatively, you can create a slurry by mixing a tablespoon of cornstarch with two tablespoons of cold water and stirring it into the simmering sauce until thickened.
Instant Pot Honey Garlic Chicken
A quick and flavorful honey garlic chicken recipe made in the Instant Pot. Perfect for a weeknight meal.
Ingredients
-
1 1/2 lbs. (750g) chicken thighs (4 chicken thighs)
-
salt
-
ground black pepper
-
1 1/2 tablespoons cooking oil
-
4 cloves garlic (minced)
-
1 tablespoon chopped parsley
-
3 tablespoons honey
-
1 teaspoon sugar
-
2 tablespoons soy sauce
-
3 tablespoons water
-
3 dashes cayenne pepper
Instructions
-
Step 1
Season the chicken thighs generously with salt and ground black pepper. -
Step 2
Set the Instant Pot to ‘Sauté’ mode. Add cooking oil and once hot, add the seasoned chicken thighs. Sear on both sides until golden brown. -
Step 3
Add minced garlic to the pot and sauté for about 30 seconds until fragrant. -
Step 4
Pour in honey, sugar, soy sauce, water, and cayenne pepper. Stir to combine. -
Step 5
Cancel ‘Sauté’ mode. Secure the lid on the Instant Pot and set the valve to ‘Sealing’. Cook on High Pressure for 10 minutes. -
Step 6
Once cooking is complete, perform a Quick Release of the pressure. -
Step 7
Remove the chicken from the pot. If the sauce is too thin, set the Instant Pot back to ‘Sauté’ mode and simmer for a few minutes until thickened. Spoon the sauce over the chicken. -
Step 8
Garnish with chopped parsley before serving.
Important Information
Nutrition Facts (Per Serving)
It is important to consider this information as approximate and not to use it as definitive health advice.
Allergy Information
Please check ingredients for potential allergens and consult a health professional if in doubt.