Easy Clay Pie Recipe-Fun for All Ages
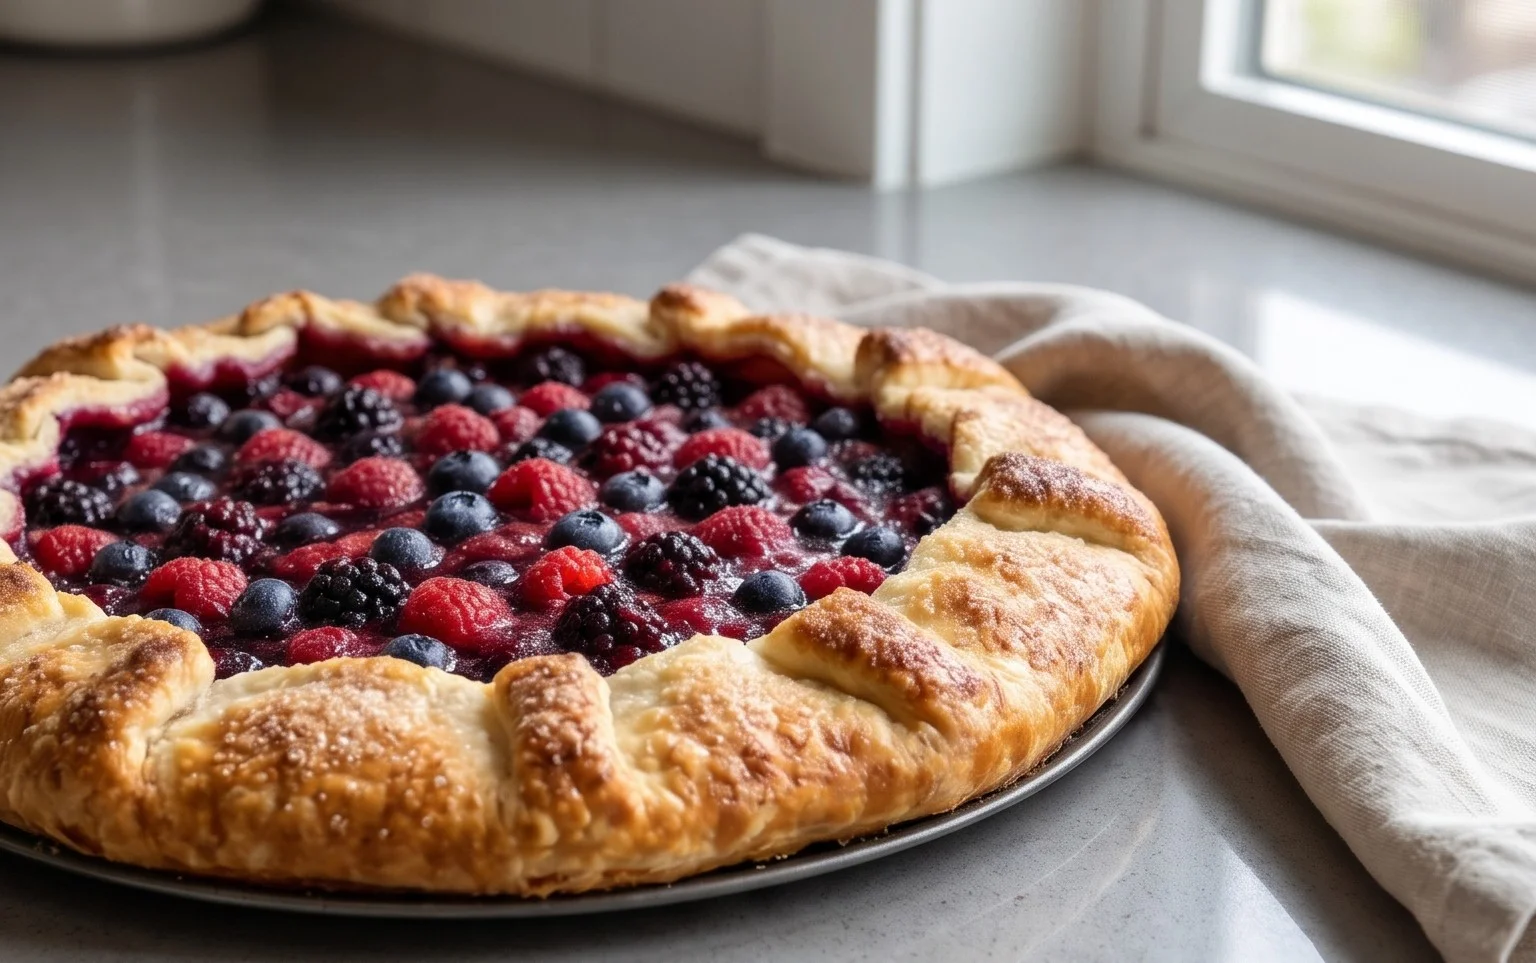
How to Make a Clay Pie: Prepare yourself for a culinary adventure that will delight your senses and surprise your taste buds! There’s something undeniably magical about a clay pie. Perhaps it’s the rustic charm, the satisfying heft as you slice into it, or the incredibly rich, savory flavors that burst forth with every bite. Many folks absolutely adore this dish for its comforting essence and the way it transforms simple ingredients into something truly extraordinary. What makes a clay pie so special, you ask? It’s the ingenious cooking method that seals in moisture and allows the flavors to meld beautifully, creating a tender, succulent filling encased in a perfectly cooked crust. It’s a dish that speaks of tradition, of slow cooking, and of the pure joy of sharing a delicious meal with loved ones. Get ready to master the art of the clay pie and impress everyone you serve it to!
How to Make a Delicious-Looking Clay Pie
Welcome, fellow crafters! Today, we’re going to dive into the delightful world of polymer clay miniaturizing and create a charming, edible-looking pie. This is a fantastic project for begin extractners and experienced crafters alike, perfect for adding a sweet touch to your miniature scenes, jewelry, or even just for the sheer joy of creating something adorable. We’ll be using a few simple materials to bring this miniature dessert to life. Get ready to knead, sculpt, and bake (in the oven, of course – not for eating!) your way to a miniature masterpiece.
Ingredients:
Creating the Perfect Crust
This is where the magic begin extracts, and the tan polymer clay will be our canvas. The key to a realistic crust is subtle variation in color and texture.
1. Preparing the Clay: First, take a generous portion of your tan polymer clay. Knead it thoroughly until it’s soft, pliable, and easy to work with. This process, often called conditioning, is crucial for preventing cracks and ensuring a smooth finish. If your clay feels a bit stiff, especially if it’s been stored for a while, you can warm it slightly in your hands or use a pasta machine on its widest setting to condition it. You want it to be flexible enough to mold without crum extractbling.
2. Forming the Pie Base: Next, we’ll flatten the conditioned tan clay. You can do this by hand, rolling it out with a rolling pin, or using a pasta machine to get an even thickness. Aim for a thickness of about 2-3 millimeters, similar to a real pie crust. Now, we need to shape it. If you’re using a silver bottle cap as a mold, you can press the flattened clay into it, gently pushing it up the sides to create the pie dish shape. If you’re not using a mold, you can freehand cut a circle and then gently press it into a shallow dish or a small glass to create the indentation of a pie. Once you have your base shaped within your mold or dish, carefully trim any excess clay around the edges, leaving a slight overhang that will become the pie’s crimped edge.
Adding Realistic Crust Details
Now for the fun part – making our crust look wonderfully baked and delicious! This is where the soft pastels come into play, adding depth and realism.
3. Texturing and Shading the Crust: Before we add the filling, let’s give our crust some character. You can use a sculpting tool, a toothpick, or even the edge of a craft knife to gently create a subtle texture on the inside and outside edges of the crust. Think about the slight imperfections you’d see on a real pie crust. Then, using your soft pastels, we’ll add realistic shading. Take a fine brush or a cotton swab and lightly dust the two shades of brown pastel onto the crust. Focus on the edges and where the crust would naturally get darker during baking. Use a lighter brown to highlight raised areas and a darker brown to emphasize indentations and the very edges. You can also lightly dust some over the base of the crust inside the pie dish. This layering of colors is what makes the clay look so much more lifelike. Don’t be afraid to experiment with the amount of pastel you use; a little goes a long way, and you can always add more.
The Sweet Filling
It’s time to add the heart of our pie – the filling! For this example, we’ll use red polymer clay, but feel free to experiment with other colors and even marbled effects for different fruit pies.
4. Creating and Adding the Filling: Take your red polymer clay and knead it until it’s smooth and pliable. For a simple pie, you can simply roll it into a ball and then flatten it slightly to fit into your pie crust. Gently press the red clay into the prepared crust, making sure it fills the dish evenly. You can create a slight dome shape to mimic a generous filling. If you want a more textured look, you can break the red clay into small pieces and then press them together within the crust, or use a toothpick to create a slightly uneven surface. For a truly realistic effect, you can even mix in tiny speckles of black clay if you’re making a cherry or berry pie. Make sure the filling sits just below the rim of the crust, leaving room for any decorative edges.
Finishing Touches for a Perfect Presentation
We’re almost there! A few final touches will elevate our clay pie from good to absolutely stunning.
5. Finalizing the Pie and Baking: Now, let’s consider any decorative elements. You could create a lattice top by rolling thin strips of tan clay and weaving them over the filling, or cut out small shapes with cookie cutters to adorn the top. For a simpler pie, just ensure the crimped edge of the crust is neat and well-defined. Once you’re happy with your creation, it’s time to bake. Follow the baking instructions for your specific brand of polymer clay, which usually involves baking at a specific temperature (often around 275°F or 135°C) for a set amount of time, typically 15-30 minutes per 1/4 inch of thickness. Make sure your oven is preheated accurately. It’s a good idea to place your clay pie on a ceramic tile or baking sheet for even heat distribution during the baking process. Once baked, allow it to cool completely before handling. You can then add a glossy glaze if desired for an extra touch of realism, or leave it matte.
And there you have it – your very own miniature clay pie! I hope you enjoyed this little baking adventure. Happy crafting!
Conclusion:
So there you have it! Making a clay pie is a wonderfully satisfying and surprisingly simple process that results in a beautiful, edible work of art. This recipe is fantastic because it allows for immense creativity, transforming basic ingredients into a delightful centerpiece. Whether you’re looking for a fun baking project with kids or a unique dessert for a special occasion, this clay pie is sure to impress. We’ve explored how to create the dough, shape it into stunning designs, and bake it to perfection. Remember, the beauty of this recipe lies in its adaptability; feel free to experiment with different flavorings and decorative elements.
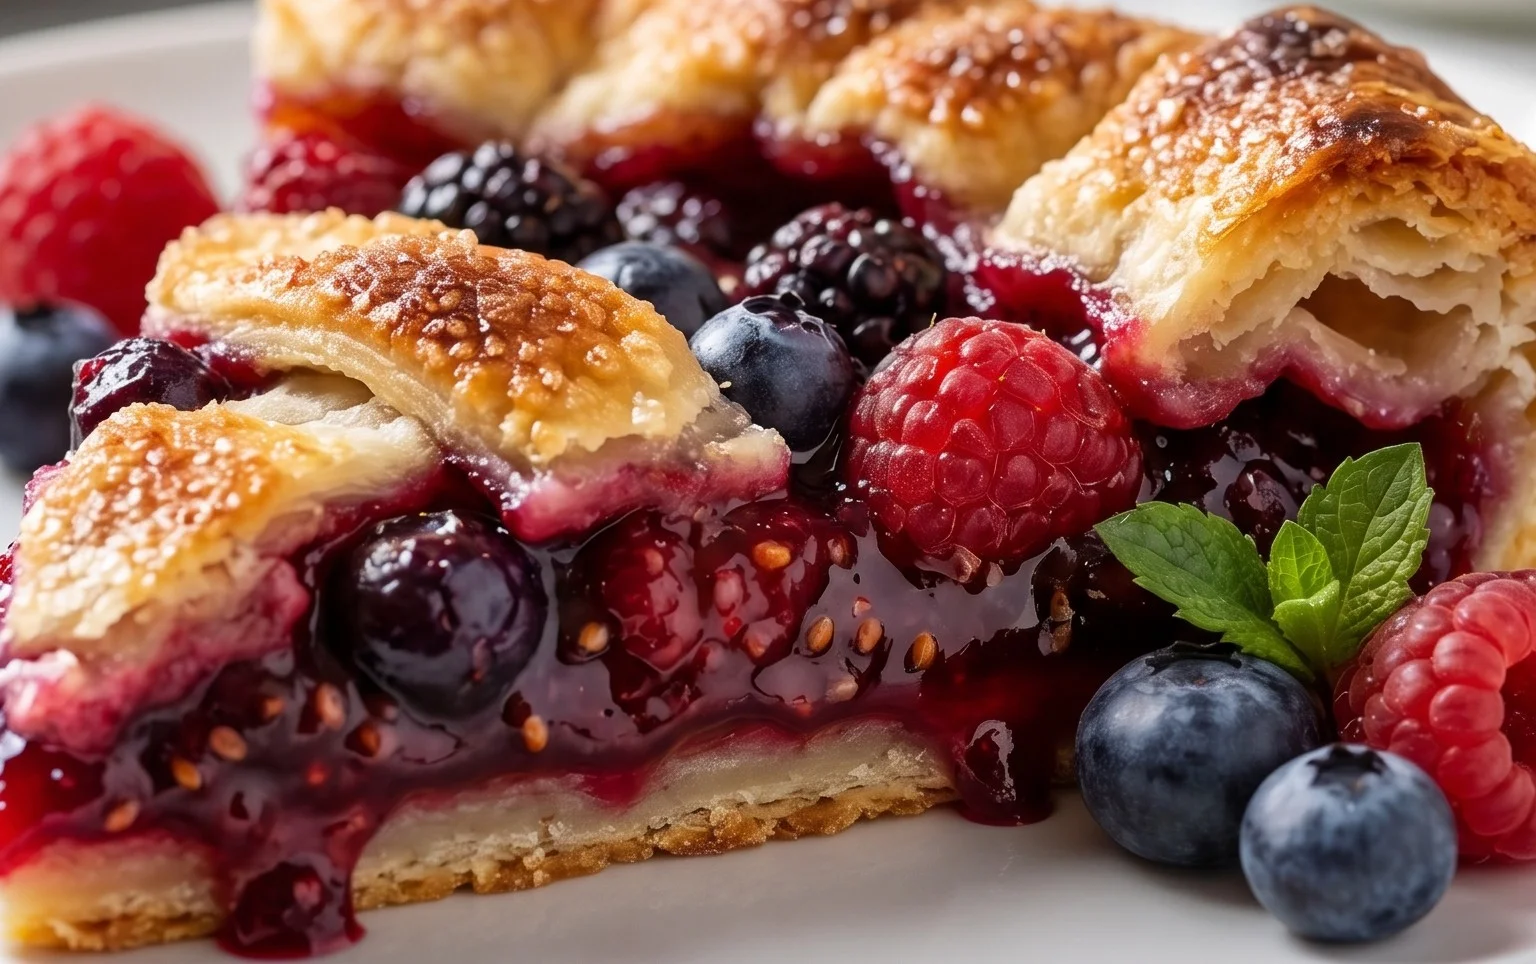
For serving, a slice of this delicious clay pie is best enjoyed on its own to appreciate the intricate design. However, it also pairs wonderfully with a dollop of whipped cream, a scoop of vanilla ice cream, or a light dusting of powdered sugar. Consider variations like adding a hint of cinnamon or almond extract to the dough, or incorporating fruit fillings between layers for an extra burst of flavor. Don’t be afraid to get messy and have fun with it – that’s the best part of baking!
Frequently Asked Questions:
Can I make the clay pie dough ahead of time?
Absolutely! You can prepare the clay pie dough up to two days in advance and store it wrapped tightly in plastic wrap in the refrigerator. Allow it to come to room temperature for about 15-20 minutes before you plan to work with it, as it will be easier to shape when slightly softened.
What kind of “clay” are we actually eating?
The “clay” in this recipe refers to the dough itself, which is typically made from flour, butter, sugar, and sometimes egg or milk, similar to a rich shortcrust pastry. It’s designed to be both beautiful for decoration and delicious to eat once baked, providing a slightly sweet and crum extractbly texture.
How do I prevent my clay pie from burning?
To prevent burning, keep a close eye on your clay pie during the final stages of baking. If you notice areas browning too quickly, you can loosely tent those sections with aluminum foil. Ensure your oven temperature is accurate, as an oven that runs too hot can lead to uneven baking and burning.
How to Make a Clay Pie
A simple guide to creating a decorative clay pie using polymer clay and a bottle cap.
Ingredients
-
Tan Polymer clay
-
Silver bottle cap(s)
-
Red Polymer clay
-
Soft pastels (2 shades of brown)
Instructions
-
Step 1
Condition and roll out the Tan Polymer clay to create the pie crust. -
Step 2
Press the Tan Polymer clay into the silver bottle cap, trimming any excess to form the base of the pie crust. -
Step 3
Condition and roll out the Red Polymer clay to create the pie filling. Alternatively, use other colours for different fillings. -
Step 4
Gently press the Red Polymer clay into the Tan Polymer clay crust inside the bottle cap. -
Step 5
Use a small tool to create texture on the filling to resemble pie filling. -
Step 6
Bake the clay pie according to the manufacturer’s instructions for the Polymer clay. -
Step 7
Once cooled, lightly dust the edges of the crust with the soft pastels using a small brush to add a browned, baked effect.
Important Information
Nutrition Facts (Per Serving)
It is important to consider this information as approximate and not to use it as definitive health advice.
Allergy Information
Please check ingredients for potential allergens and consult a health professional if in doubt.