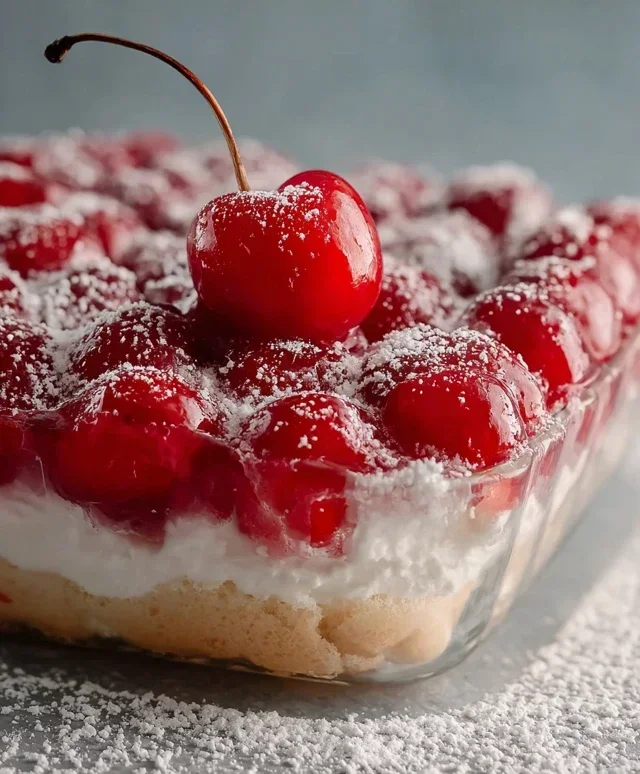
Cherries in the Snow Recipe-Simple Sweet Dessert
Cherries in the Snow is more than just a dessert; it’s a nostalgic embrace, a burst of vibrant flavor that conjures up images of cozy evenings and cherished gatherings. This iconic treat, with its ruby-red cherries nestled amongst a fluffy cloud of whipped topping, holds a special place in the hearts of many. What is it about Cherries in the Snow that makes it so universally loved? Perhaps it’s the delightful contrast of textures – the slightly tart, juicy cherries against the cool, ethereal sweetness of the whipped cream. Or maybe it’s the sheer simplicity and elegance of its presentation, transforming humble ingredients into something truly magical. This recipe will guide you through creating your own perfect bowl of Cherries in the Snow, ensuring that familiar comfort and joy are on your table in no time.
Why You’ll Adore This Recipe
Simple yet stunning, perfect for any occasion
Cherries in the Snow
This delightful dessert, affectionately known as “Cherries in the Snow,” is a perfect balance of creamy, sweet, and fruity. It’s incredibly simple to assemble, making it an ideal choice for potlucks, holiday gatherings, or even just a special treat for a weeknight. The beauty of this recipe lies in its minimal cooking – almost entirely assembly-based – allowing you to whip up a crowd-pleasing dessert with very little fuss. The name itself conjures images of a snowy landscape dotted with vibrant red cherries, and the finished product lives up to that charming description. It’s a no-bake wonder that will have everyone asking for the recipe.
Ingredients:
Instructions:
Let’s get started on this easy and delicious dessert! The key to a smooth and creamy filling is ensuring your cream cheese is at room temperature. This allows it to blend effortlessly without any lumps. If you forget to take it out in advance, you can gently warm it in the microwave for short bursts (about 10-15 seconds at a time), being careful not to melt it.
Preparing the Creamy Filling
1. In a medium-sized bowl, begin extract by creaming together the softened cream cheese and the powdered sugar. You can use an electric mixer on medium speed for this, or a sturdy whisk if you’re feeling ambitious. Beat until the mixture is smooth, light, and fluffy. It’s important to get this mixture nice and smooth at this stage, as it forms the base of our creamy layer. Scrape down the sides of the bowl occasionally to ensure all the cream cheese and powdered sugar are incorporated.
2. Next, gradually add the 2% milk to the cream cheese and powdered sugar mixture while continuing to beat on low speed. Increase the speed to medium and beat until the mixture is well combined and has a smooth, pourable consistency. This might take a minute or two. The milk thins out the cream cheese, making it easier to fold into the whipped topping. Again, scrape down the sides of the bowl as needed.
3. Now, gently fold in the thawed Cool Whip whipped topping into the cream cheese mixture. Use a spatula and a folding motion, bringin extractg the whipped topping from the bottom of the bowl up and over the cream cheese mixture. Continue folding until just combined. Be careful not to overmix, as this can deflate the airy texture of the Cool Whip and result in a denser filling. You want to maintain that light and fluffy quality.
Assembling the Layers
4. Take your pre-baked 9-inch angel food cake. You have a couple of options here for how you want to present your “snow.” You can either cut the cake into bite-sized cubes and layer them in the bottom of your serving dish, or you can carefully tear the cake into smaller pieces and scatter them. For a more rustic look, tearing works beautifully. If you prefer a neater presentation, cubing is the way to go. A clear glass trifle dish works wonderfully for showcasing the layers, but any 9×13 inch baking dish or a deep serving bowl will do.
5. Once your angel food cake is arranged in your serving dish, it’s time for the “snowy” topping. Spoon the prepared cream cheese and Cool Whip mixture evenly over the angel food cake layer, ensuring it covers the cake completely. Spread it gently with your spatula to create a smooth, white blanket. This is where the “snow” aspect really comes into play.
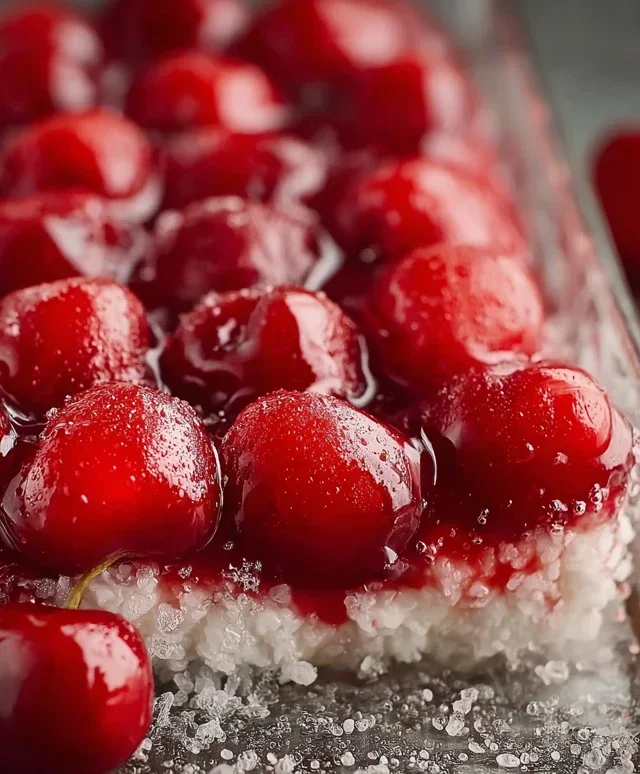
6. Finally, the crowning glory! Open both cans of cherry pie filling. Gently spoon the cherry pie filling over the creamy white layer. You can cover the entire top with cherries, or create swirls and patterns. I like to leave a few white spots peeking through to enhance the “snow” effect, but feel free to go all out with the cherry coverage! The vibrant red of the cherries against the white filling is truly striking.
This dessert is best served chilled. For optimal flavor and texture, cover the dish tightly with plastic wrap and refrigerate for at least 2-4 hours before serving. This allows the flavors to meld together and the cake to absorb some of the moisture from the filling. When you’re ready to serve, simply scoop out generous portions and enjoy the delightful combination of textures and flavors. It’s a simple yet impressive dessert that’s sure to be a hit!
Conclusion:
I hope you’re as excited to try this ‘Cherries in the Snow’ recipe as I am! This delightful dessert truly lives up to its name, offering a beautiful visual appeal with its vibrant cherry swirls against a creamy white backdrop, and an equally enchanting taste. The simplicity of the ingredients, combined with the elegance of the final presentation, makes it a standout choice for any occasion, whether it’s a casual family gathering or a more formal celebration. It’s wonderfully refreshing and satisfying, without being overly heavy.
This ‘Cherries in the Snow’ is incredibly versatile. Serve it chilled in individual glasses or bowls for an elegant individual portion. It also makes a fantastic topping for a plain pound cake or angel food cake, adding a burst of fruity flavor and color. For a fun twist, consider layering it with crum extractbled grabeef ham crackers or shortbread for added texture. Don’t be afraid to experiment! You can add a splash of almond extract for a different nutty profile, or even a hint of orange zest to complement the cherries. I truly encourage you to whip up this delicious treat and share it with your loved ones – I’m confident it will become a new favorite!
Frequently Asked Questions:
Can I use frozen cherries instead of fresh?
Absolutely! If you’re using frozen cherries, thaw them completely and drain off any excess liquid before proceeding with the recipe. You might need to adjust the amount of sugar slightly depending on the tartness of your thawed cherries.
How long can I store ‘Cherries in the Snow’?
This dessert is best enjoyed within 2-3 days of preparation. Store it in an airtight container in the refrigerator. The texture might change slightly over time, but the flavor will remain delightful.
What’s the best way to get a nice swirl effect?
The key is to gently dollop and swirl the cherry mixture into the cream base without overmixing. You want distinct ribbons of red to remain visible for that beautiful ‘snow’ effect.
Cherries in the Snow
A delightful no-bake dessert featuring layers of creamy filling, angel food cake, and sweet cherry topping.
Ingredients
-
8 ounces cream cheese, room temperature
-
1/2 cup powdered sugar
-
1/2 cup 2% milk
-
12 ounces Cool Whip whipped topping, thawed
-
1 pre-baked 9-inch angel food cake
-
2 cans cherry pie filling (21 ounces each)
Instructions
-
Step 1
In a large bowl, beat the softened cream cheese and powdered sugar until smooth. -
Step 2
Gradually beat in the milk until well combined and the mixture is smooth. -
Step 3
Gently fold in the thawed Cool Whip until no streaks of cream cheese remain. -
Step 4
Break the angel food cake into bite-sized pieces and layer half of the cake pieces into the bottom of a 9×13 inch baking dish. -
Step 5
Spoon half of the cream cheese mixture over the cake layer. -
Step 6
Spoon half of the cherry pie filling over the cream cheese layer. -
Step 7
Repeat the layering with the remaining cake pieces, cream cheese mixture, and cherry pie filling. -
Step 8
Chill for at least 2 hours before serving.
Important Information
Nutrition Facts (Per Serving)
It is important to consider this information as approximate and not to use it as definitive health advice.
Allergy Information
Please check ingredients for potential allergens and consult a health professional if in doubt.